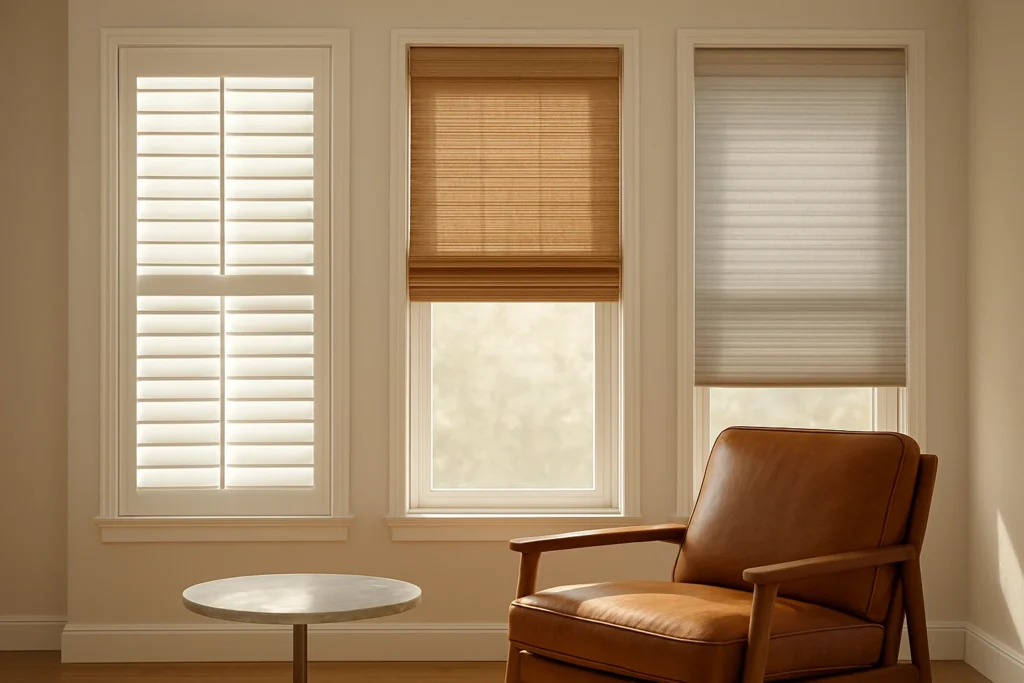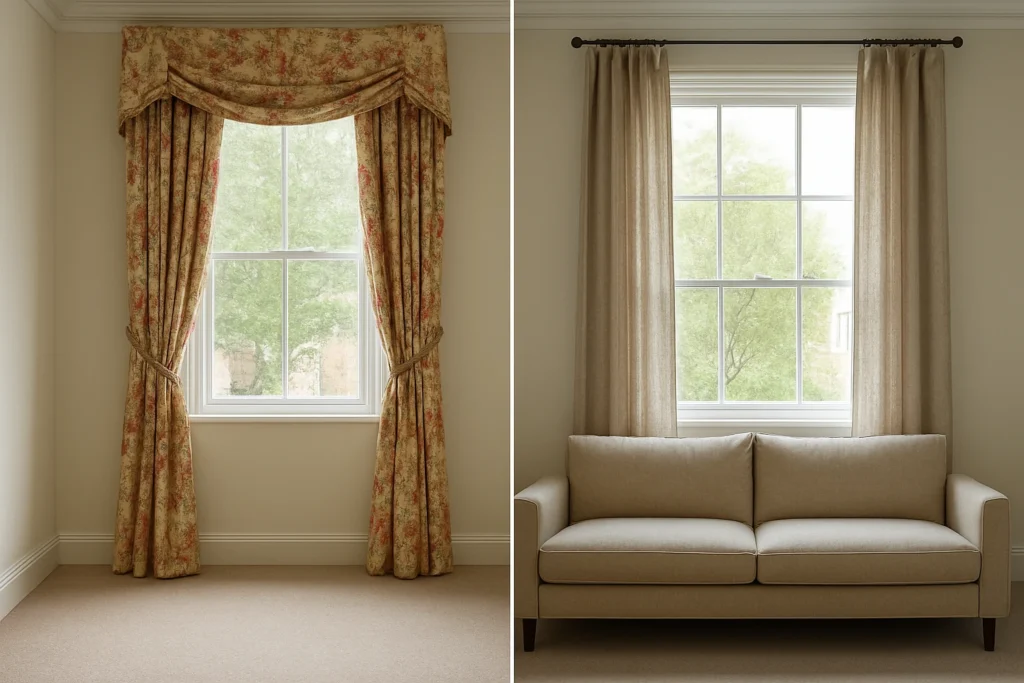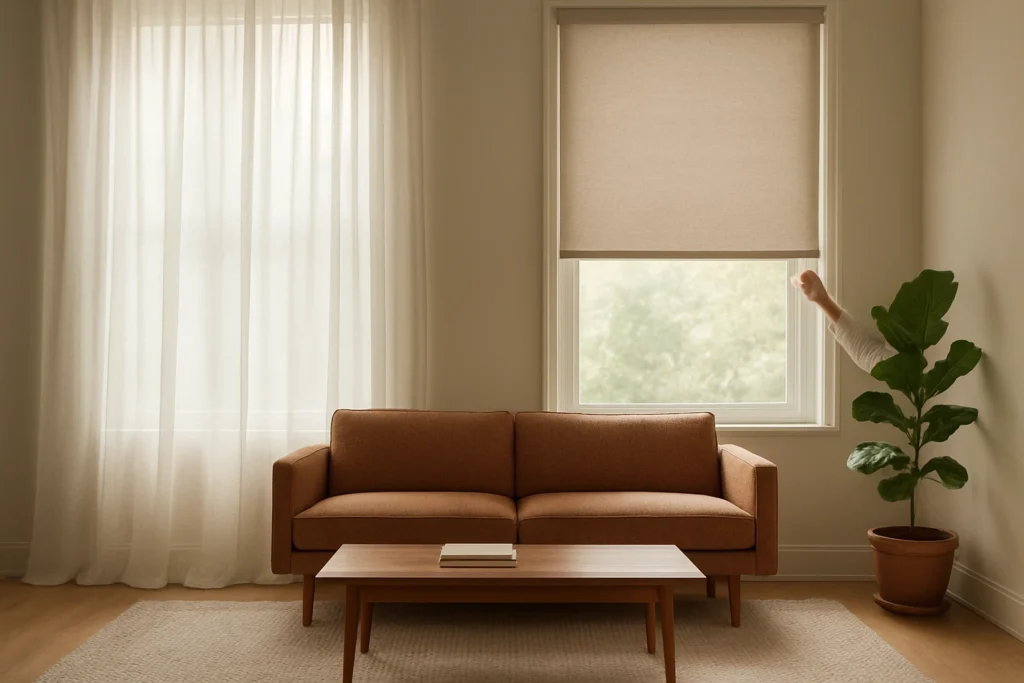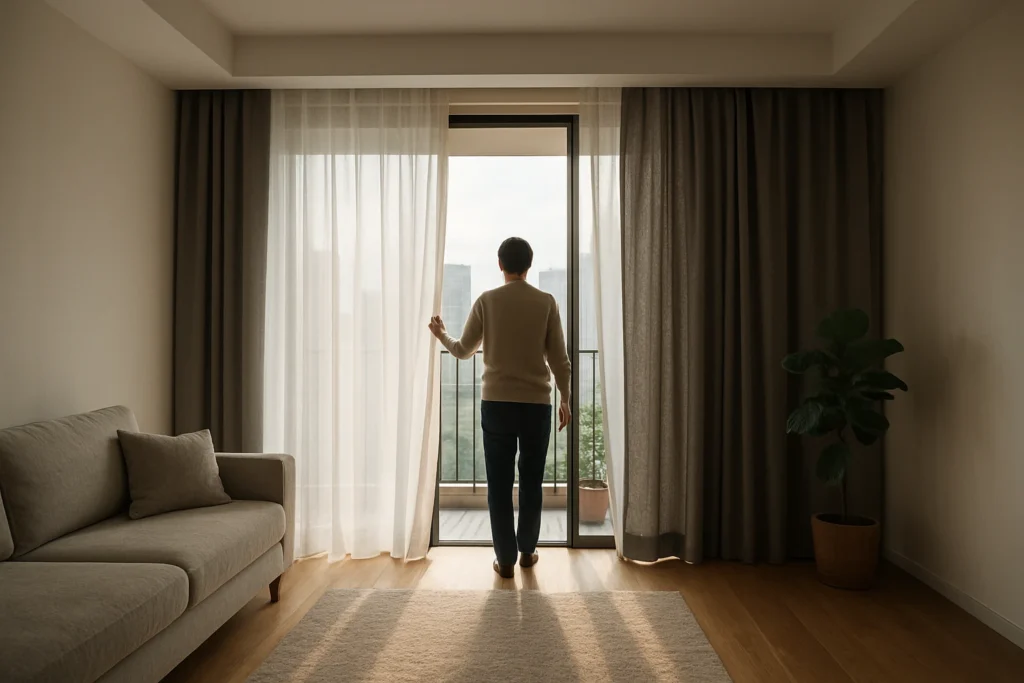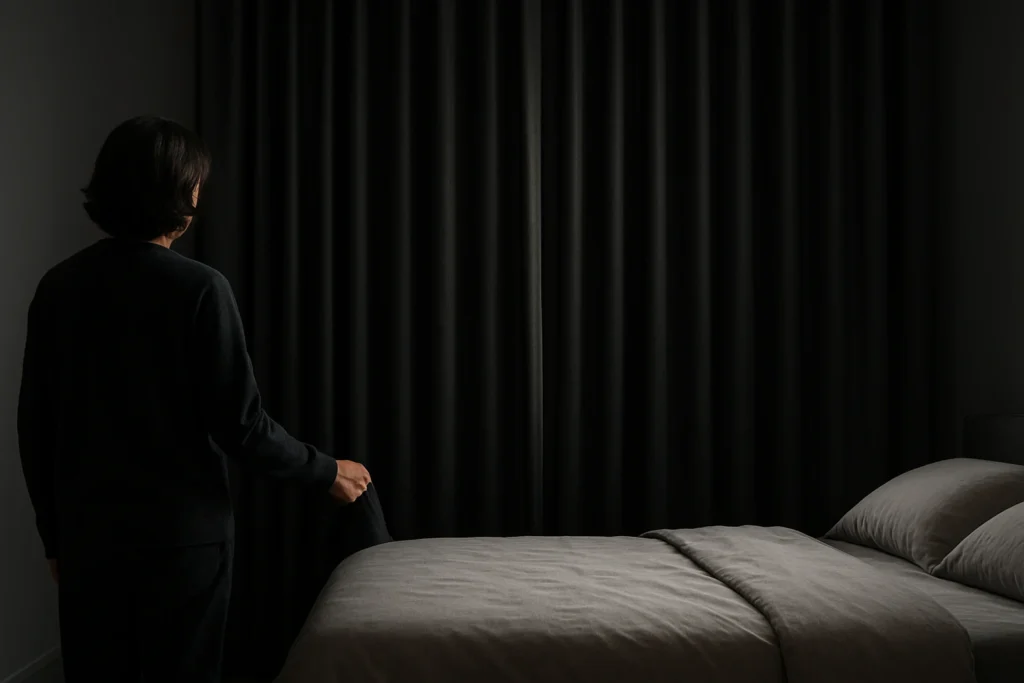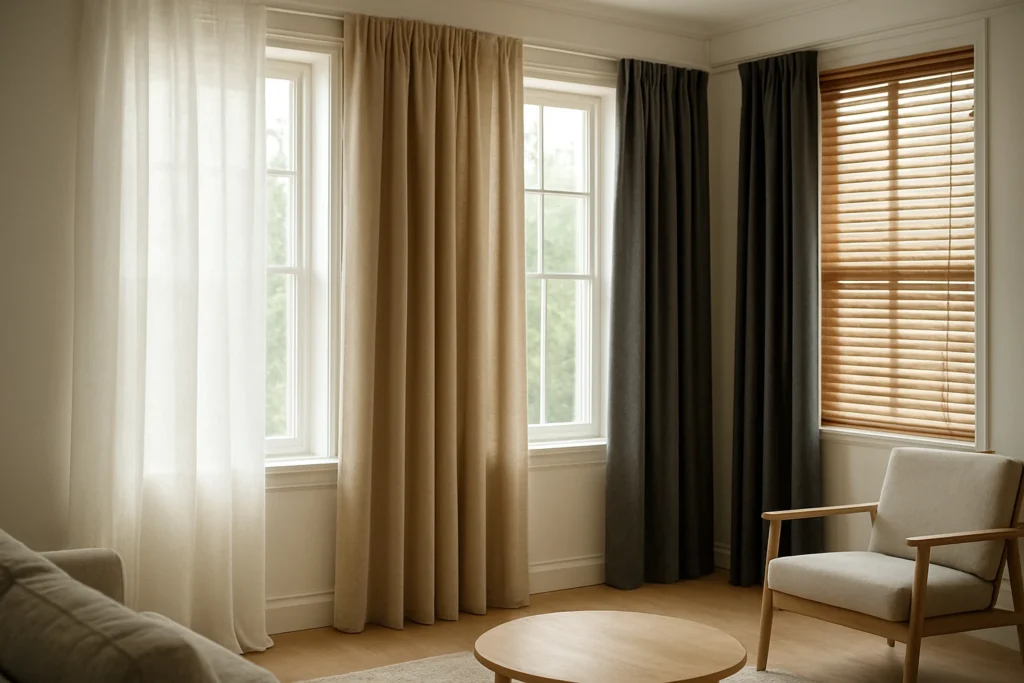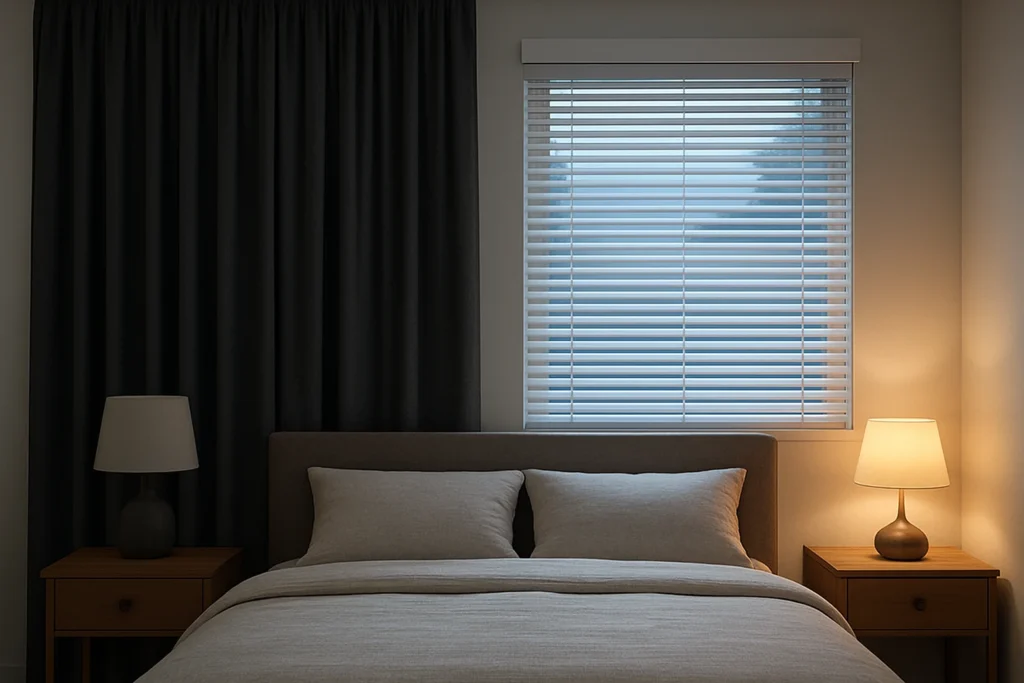
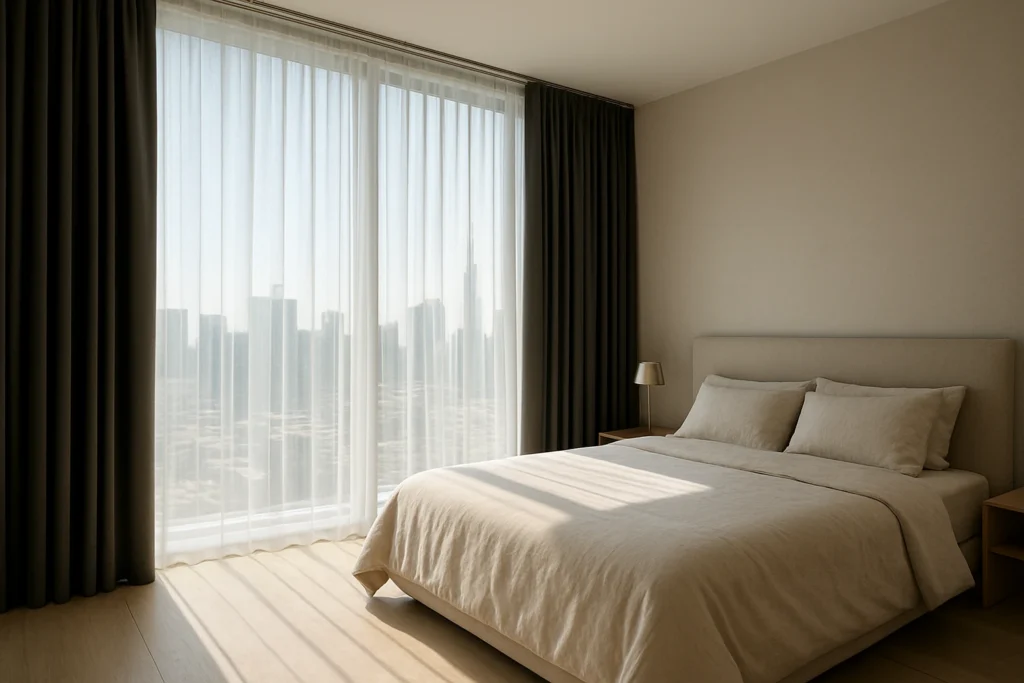
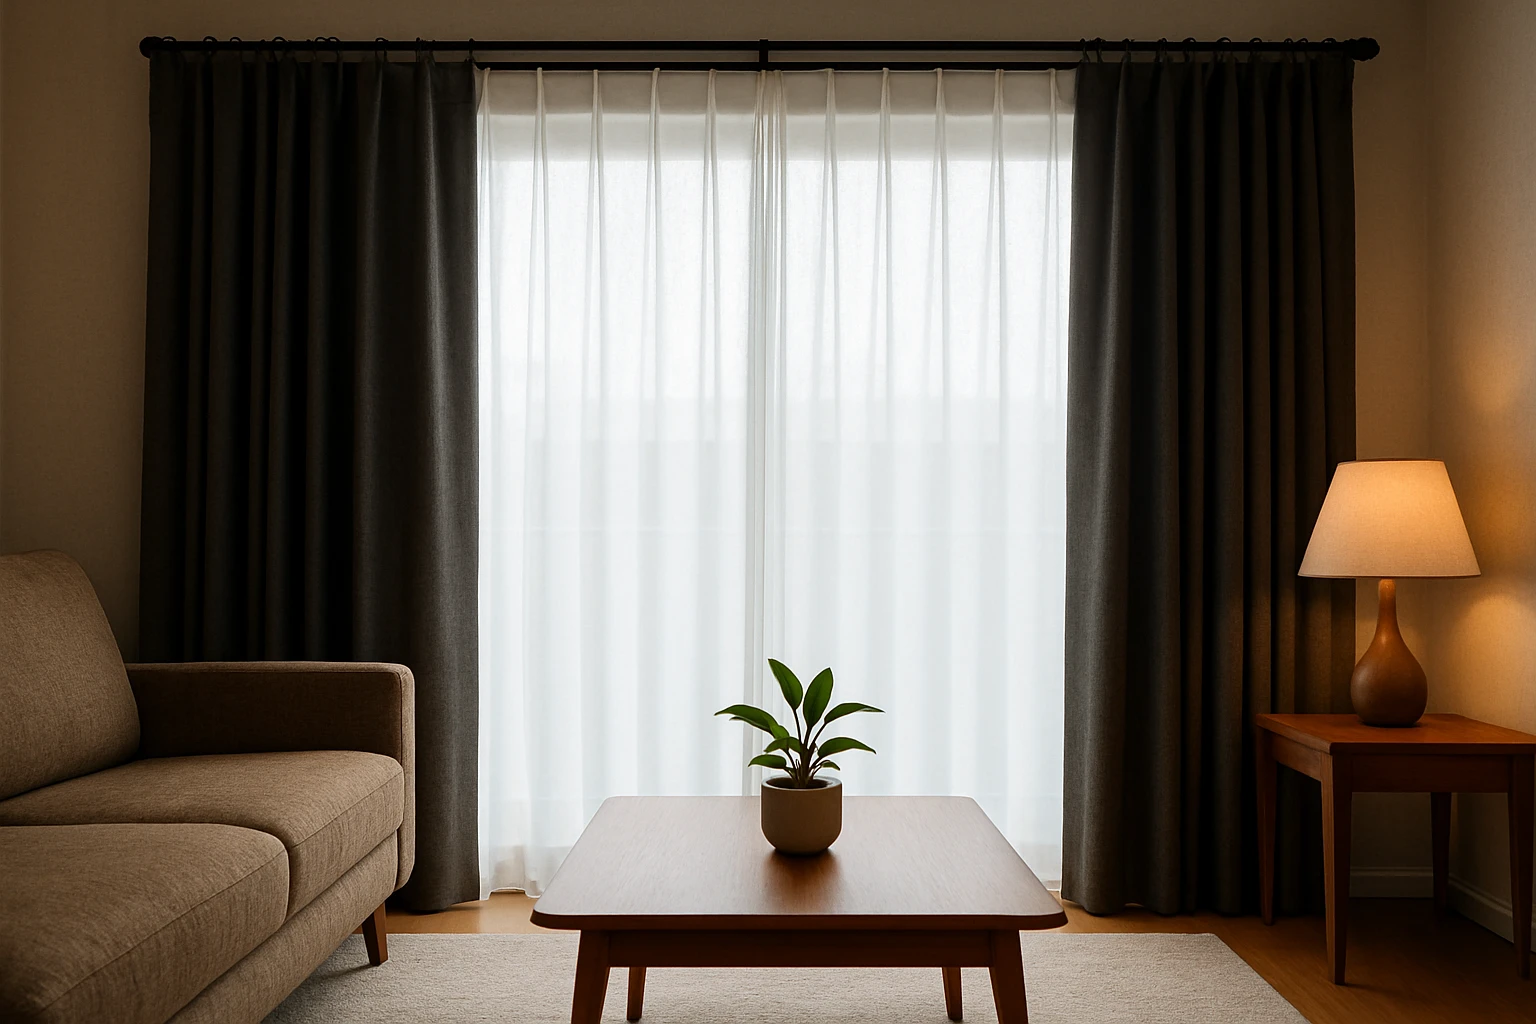
Layering sheer and blackout curtains means placing a light, translucent fabric closest to the window and a heavier blackout panel on the outer rod. This setup allows natural light during the day and full darkness or privacy when needed, helping control light and improve insulation.
Key Statistics
- Blackout fabrics reduce incoming light by about 70 to 99 percent depending on fit and fabric.
- Layered window treatments can lower heat loss through windows by roughly 10 to 20 percent in many cases.
- In surveys of designers, more than half prefer layered curtains for bedrooms and media rooms because of combined light control and style.
This article from Curtains and Blind explains the practical steps, fabric choices, measuring tips, and styling options so you can layer sheers and blackouts that work well and look polished.
When to Layer Sheer and Blackout Curtains
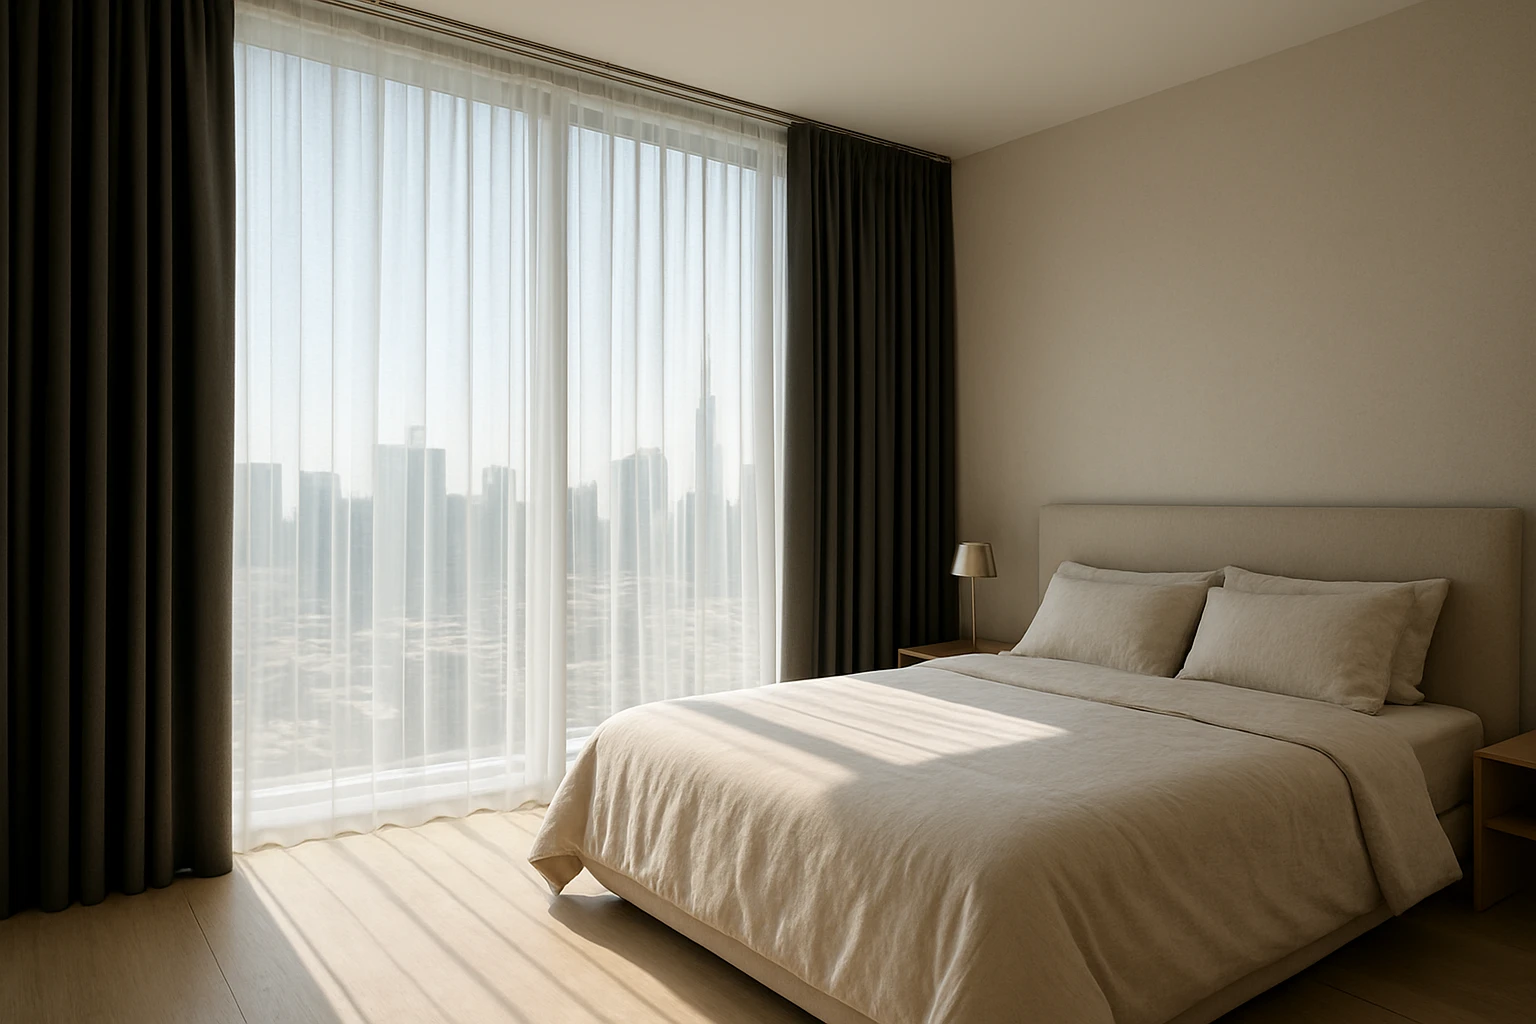
Layering makes sense when you need both daytime light and night-time darkness or privacy. Use sheers when you want soft daylight without seeing the room from outside, and bring the blackout across for sleep, screen viewing, or privacy. Layering also helps with insulation and noise reduction in many rooms.
When Layering Works Best
- Bedrooms and nurseries where light control is critical.
- Media rooms or home theaters that need low glare.
- Living rooms where you want daylight but also privacy at night.
- Rooms with large windows where single treatments leave gaps or light leaks.
Tools and Materials You Need
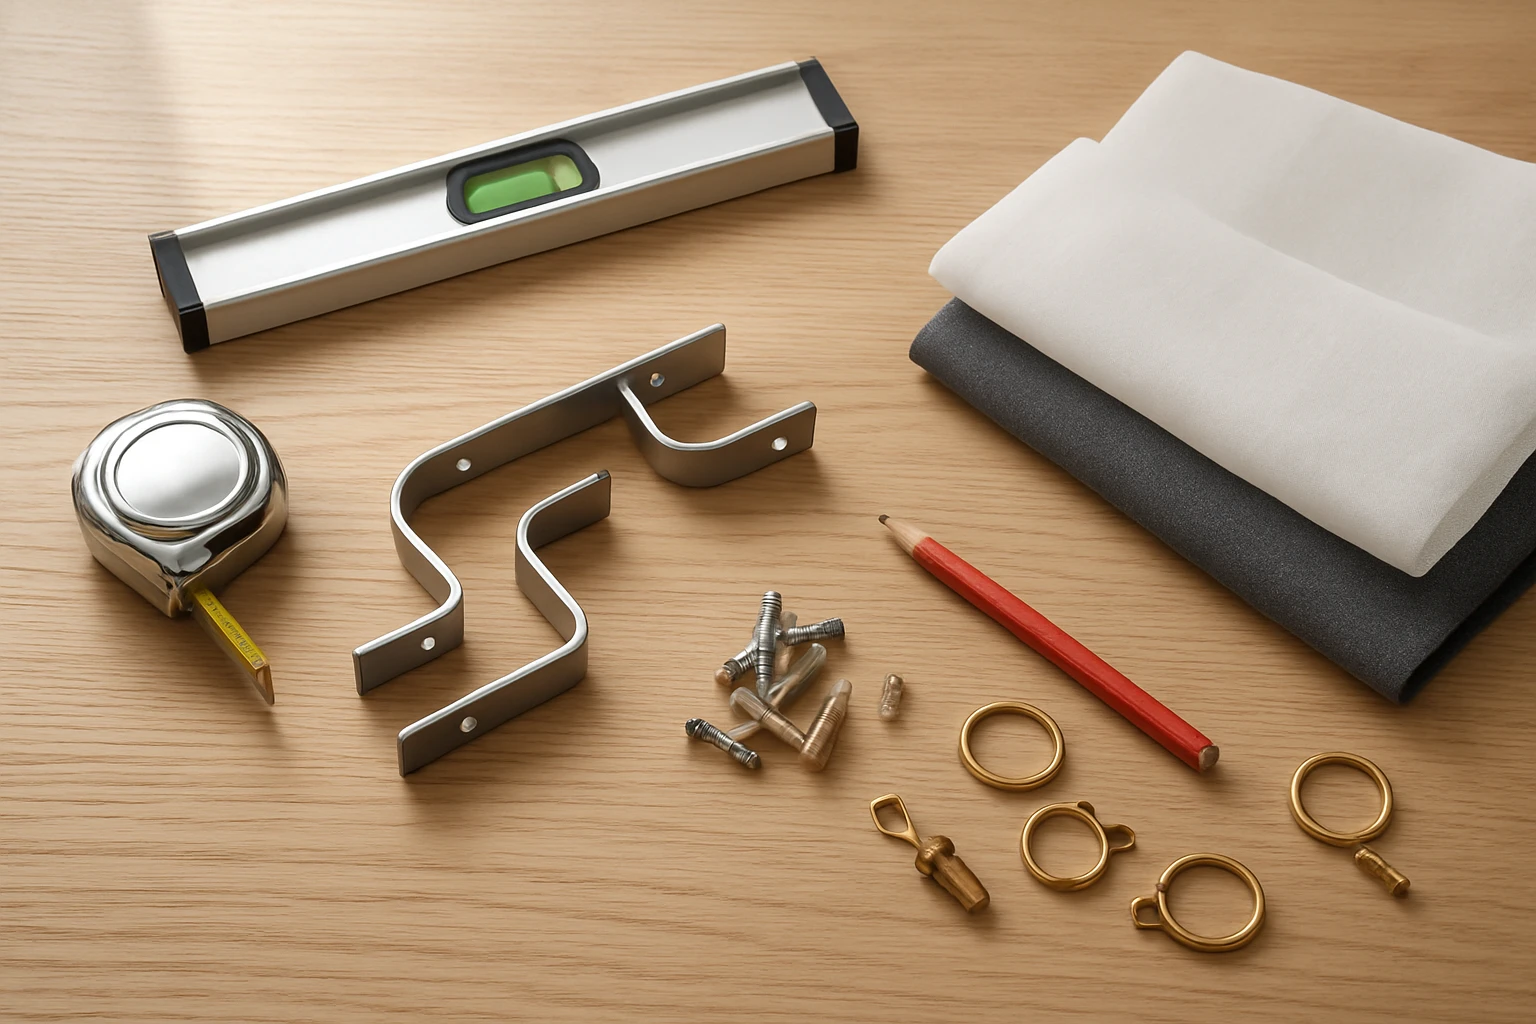
Keep the list short and practical. You need two rods or a double track, basic hanging hardware, measuring tape, and the correct curtains. A good mounting bracket that holds both rods and a neat header or pleat type will make the finished look cleaner.
Essential Items to Buy
- A double rod, double track, or a rod with a separate inner track for the sheer.
- Sheer panels sized to puddle or just touch the floor depending on style.
- Blackout panels that match your light control needs and fit close to the window.
- Hang hardware rated to the weight of blackout curtains.
Step by Step Layering Guide
Follow these steps in order to get a tidy, functional result. Work slowly and adjust as you go so the two layers hang evenly.
Step 1 Attach Rods or Track
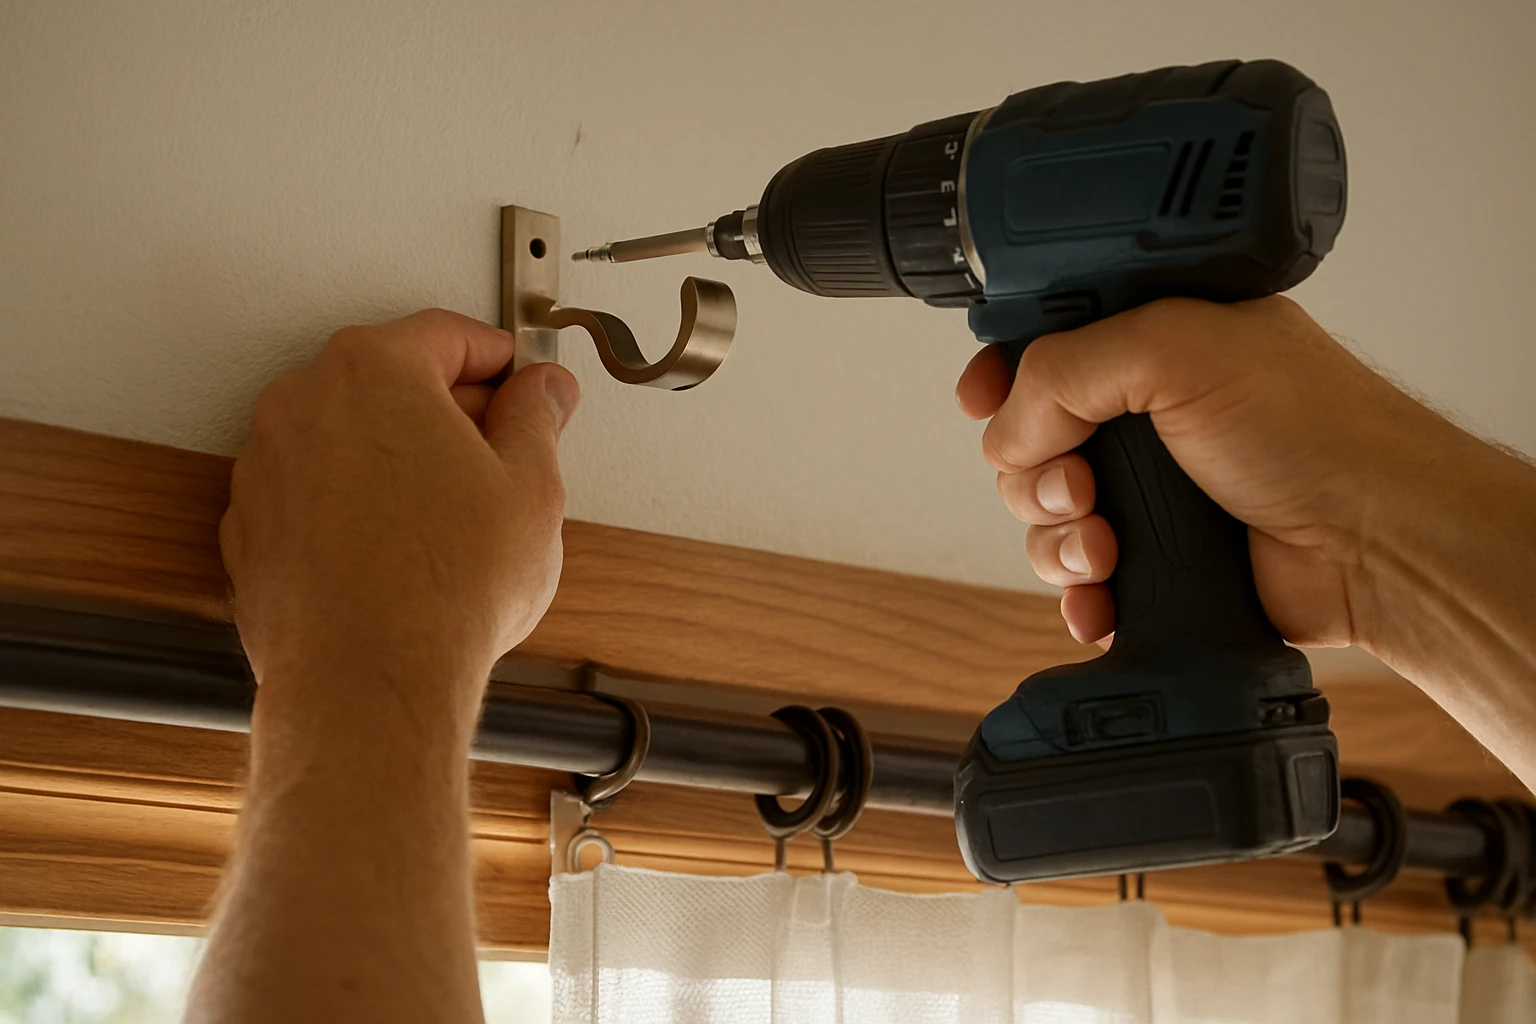
Mount the bracket higher than the window frame to make the window look taller and to block more light at the top. In our experience, placing the rod 6 to 12 inches above the frame gives a balanced look and better light control.
Tool Checklist:
- Drill with appropriate bits
- Stud finder or heavy-duty wall anchors
- Level and pencil for alignment
Step 2 Hang the Blackout Layer
Hang the blackout panels on the outer rod or track first. Make sure the panels close without big gaps at the edges. If you can, order blackout panels wider than the window to avoid light leaks.
Step 3 Hang the Sheer Layer
Install the sheer on the inner rod so it sits closest to the glass. Sheers should be long enough to touch or slightly puddle at the floor for a soft look, or hover 1/2 inch above the floor for a cleaner feel.
Step 4 Test and Adjust
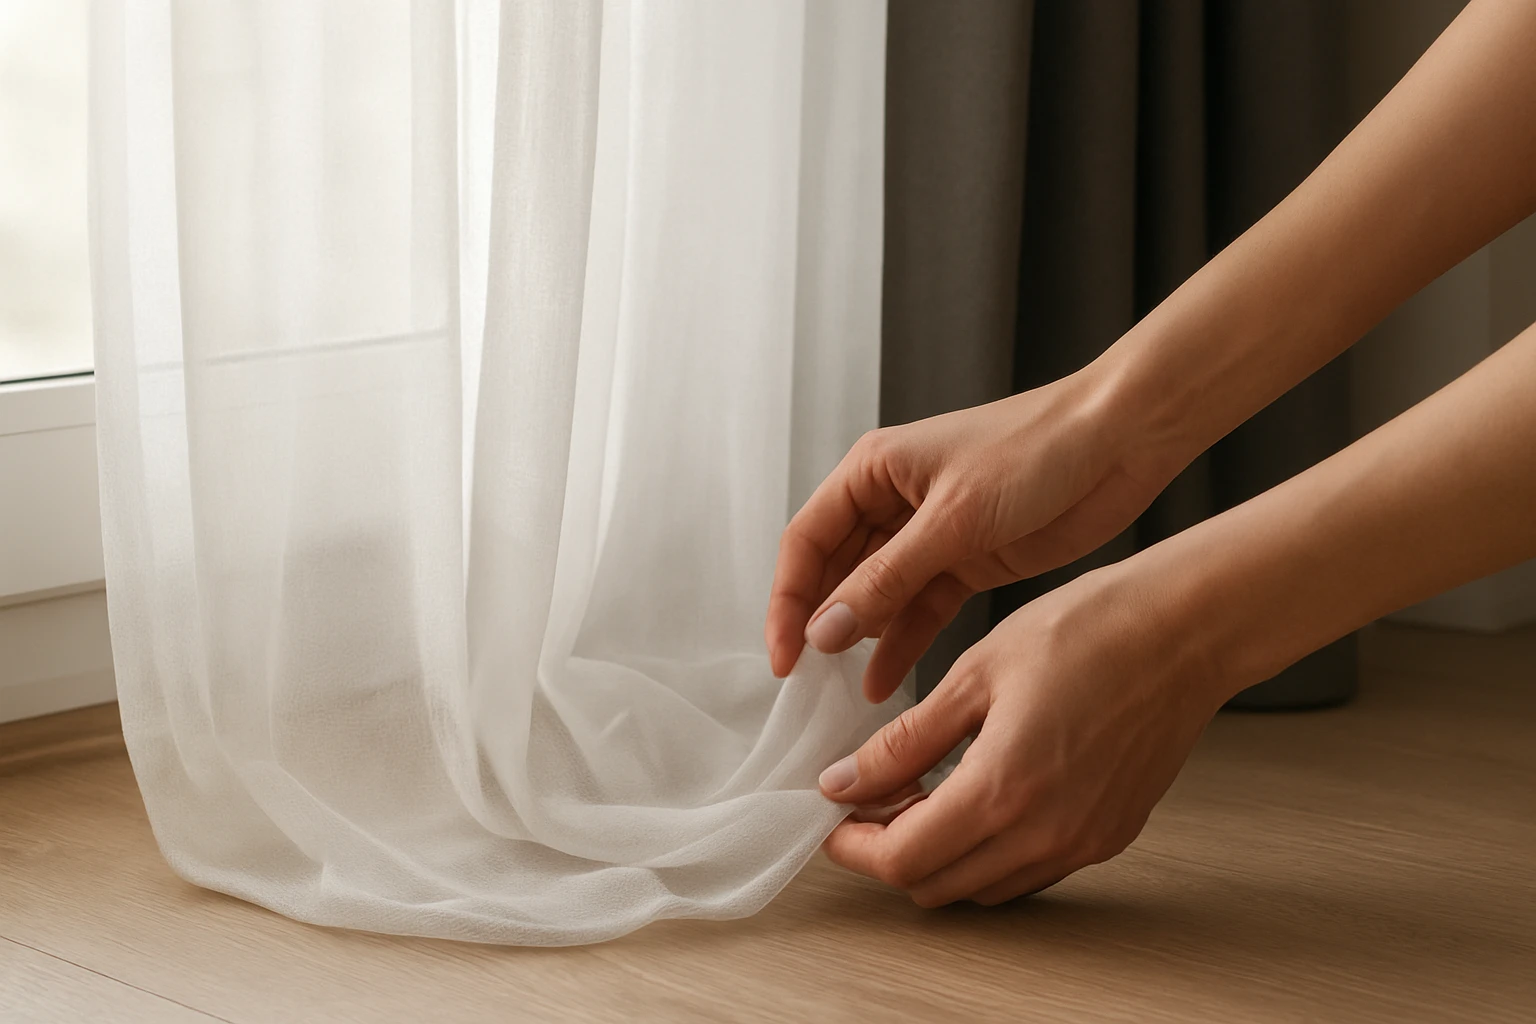
Open and close each layer several times. Check for gaps, and adjust the rod height or panel overlap as needed. If a blackout panel gaps at the sides, add side returns, wrap, or magnetic strips to improve darkness.
Choosing Fabrics and Styles
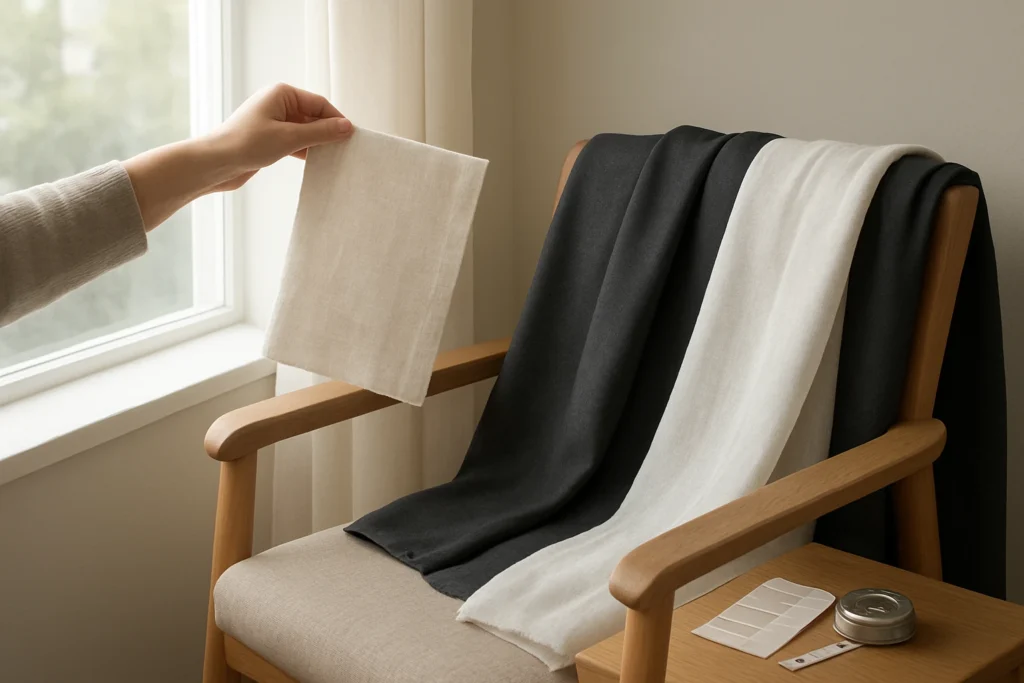
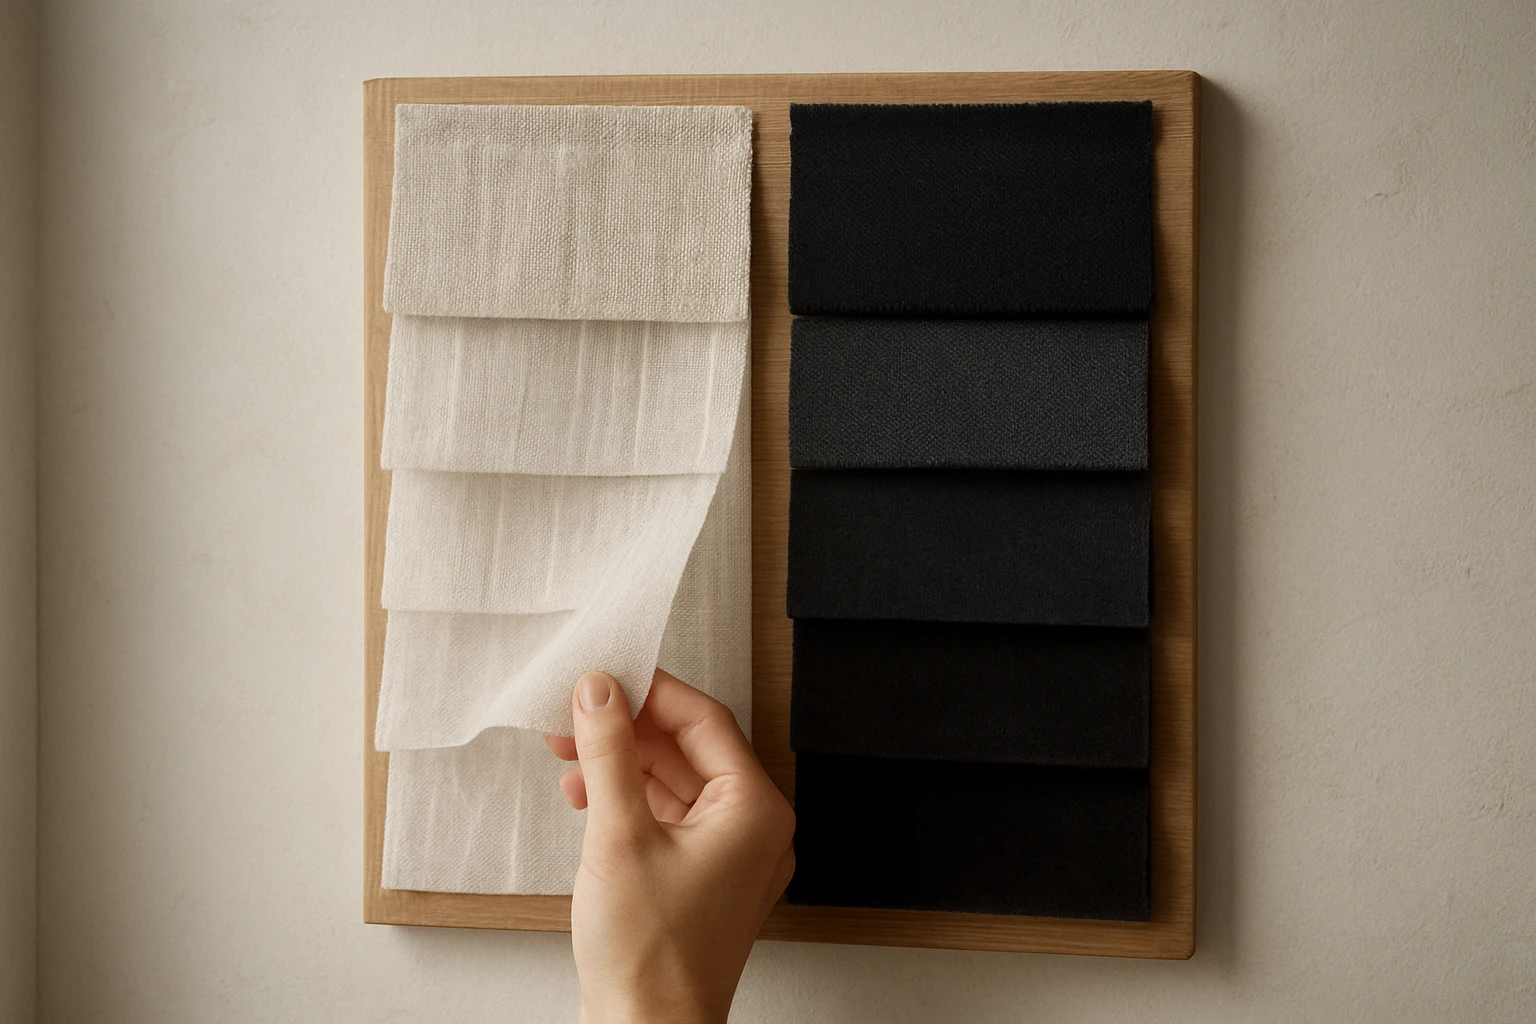
Select fabrics that match the room’s function. Sheers bring softness and filtered light while blackouts focus on density and opacity. You can pick patterns, textures, or solid colors for either layer, but keep the overall palette balanced so the window reads as a single coordinated element.
Fabric Choices That Work Well
- Linen or polyester sheers for daytime glow and low maintenance.
- Triple-weave or backed polyester blackouts for strong light block.
- Velvet blackouts when you want a plush, formal look. See options like Velvet Curtains for a heavier aesthetic.
- Lightweight chiffons for decorative sheers are an option; review Chiffon Curtains for those styles.
Quick Fabric Comparison Table
| Feature | Sheer Fabrics | Blackout Fabrics |
|---|---|---|
| Light Control | Filtered daylight | 70 to 99% light reduction |
| Privacy | Low at night | High when closed |
| Insulation | Minor benefit | Moderate to strong benefit |
| Typical Use | Living rooms, layered looks | Bedrooms, home theaters |
Measuring and Sizing for a Clean Layered Look
Measure twice to avoid mistakes. You need widths for each panel and the correct drop for the intended style, and accurate measurements keep the pleats and overlap tidy.

How to Measure Correctly
- Width: Measure the full width of the window plus desired overlap. Multiply the window width by 1.5 to 3 depending on fullness.
- Drop: Measure from where the rod will sit to the floor. Add extra for puddle or keep it shorter for a tailored look.
- Rod Placement: Mount rods high to visually lift the window.
Pleat and Heading Types Compared
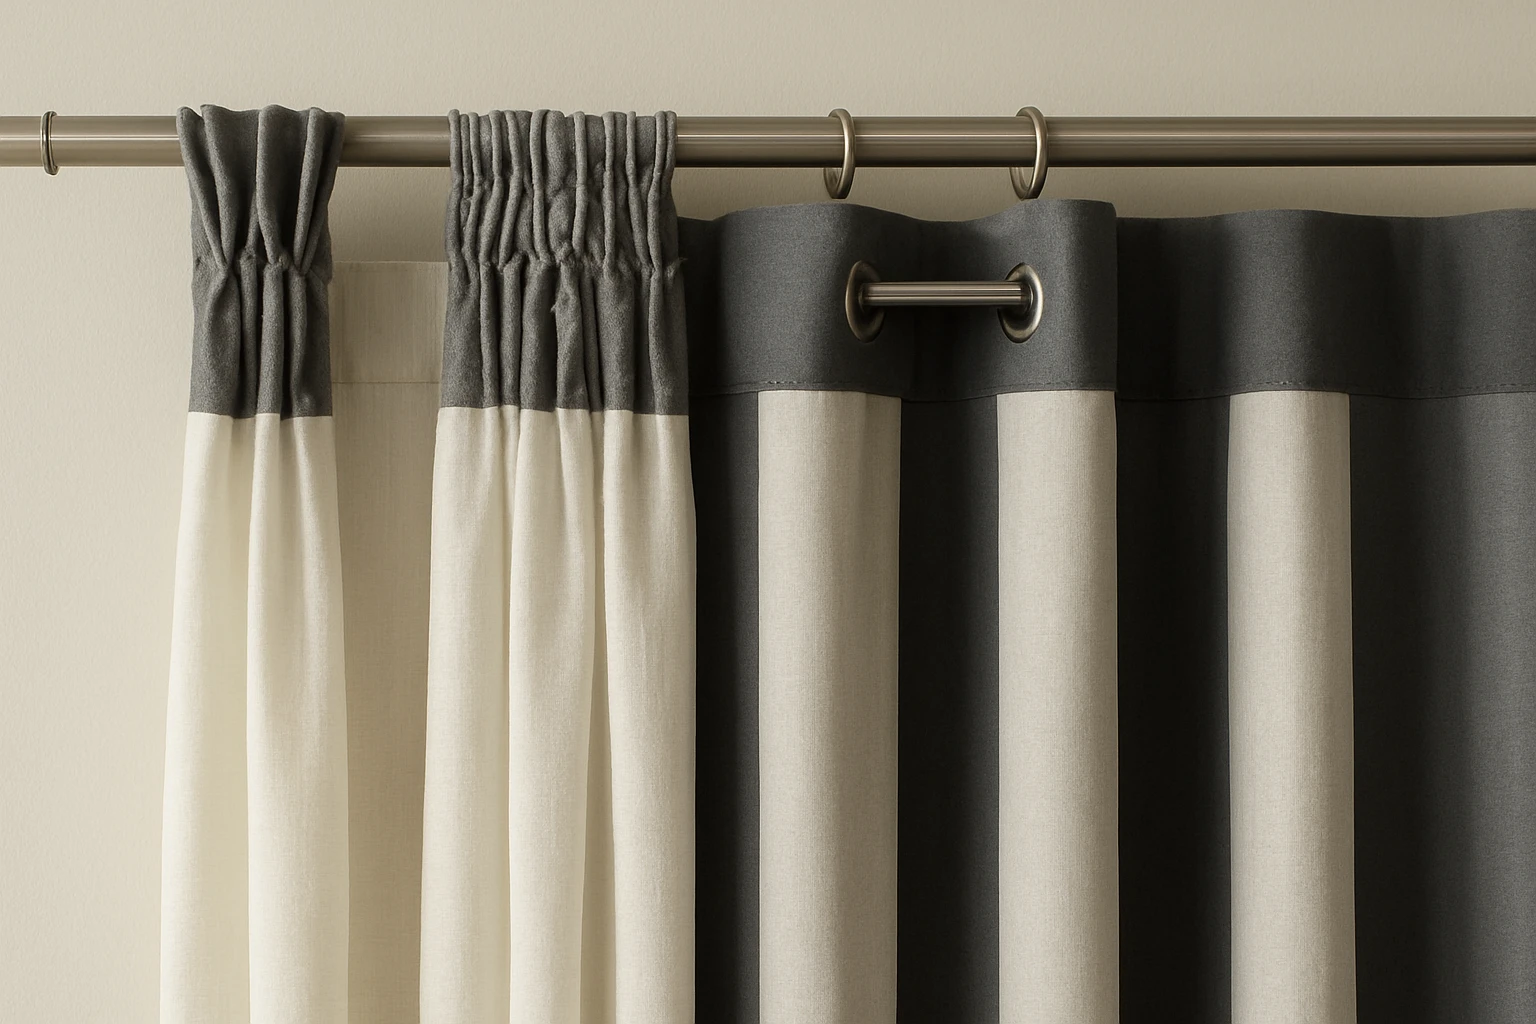
Different headings change how the layers stack and how full they look. Pick one that suits both the sheer and the blackout so they hang together.
Common Heading Types
Pinch Pleat:
Pinch pleat gives a tailored, formal fold that keeps fullness at the top. See Pinch pleat curtains for examples and options.
Pencil Pleat:
Pencil pleat is versatile and slightly informal. It works well with both sheers and heavier panels. Find styles at Pencil Pleat Curtains.
Eyelet:
Eyelet headings slide smoothly along a rod and give a modern look. Check Eyelet Curtains for metal-rimmed options.
Wave:
Wave headings create a soft, continuous ripple and need a compatible track. For that look, review Wave Curtains.
Pleat Comparison Table
| Heading Type | Look | Ease Of Use | Best With |
|---|---|---|---|
| Pinch Pleat | Formal folds | Moderate | Heavy blackouts |
| Pencil Pleat | Classic gathers | Easy | Any fabric |
| Eyelet | Modern rings | Very easy | Lightweight sheers, mid-weight blackouts |
| Wave | Smooth ripples | Track required | Contemporary, layered looks |
Common Mistakes and How to Fix Them
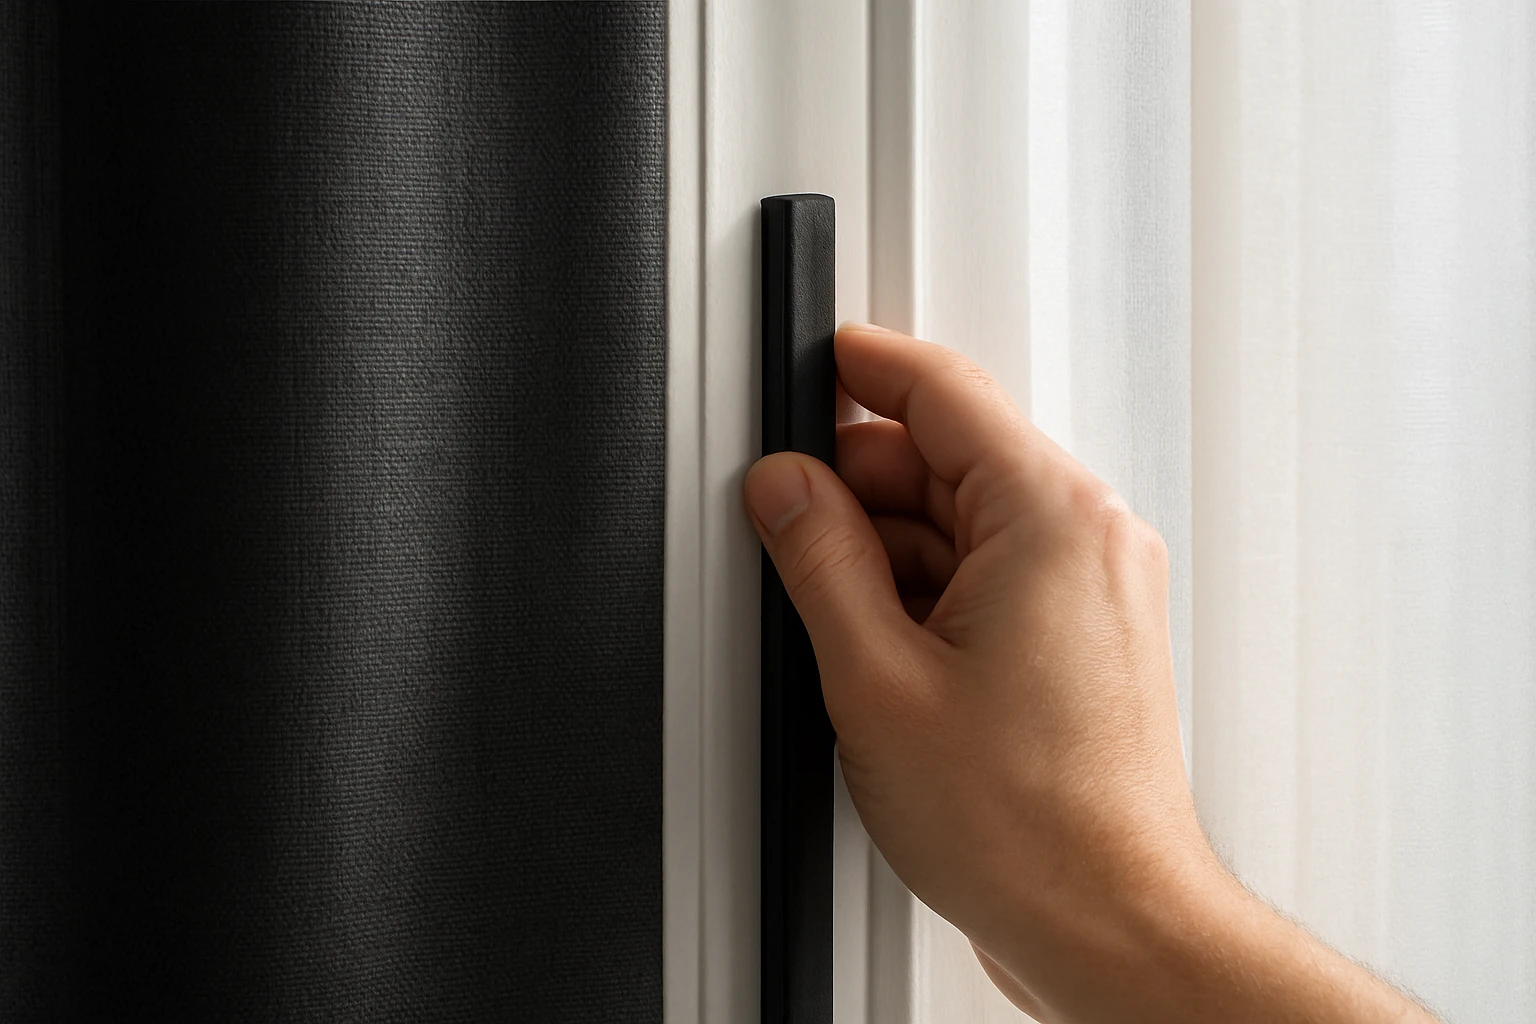
Many problems come from wrong measurements or poor rod choice. A common mistake is ordering panels that are too narrow, which lets light through. Fix by increasing fullness or adding side returns.
Typical Issues and Solutions
- Gaps at the sides: add wrap, side returns, or use a wider curtain.
- Rod too shallow: mount rods farther from the wall so sheers sit clear of the window.
- Sheer and blackout clash: choose complementary colors or use neutral sheers so the blackout is the dominant color when closed.
Maintenance and Care for Both Layers
Sheers usually need gentle washing, while blackouts may be machine washable or require dry cleaning depending on backing. Always check the care label. Regular dusting extends life and keeps both layers looking fresh.

Care Tips
- Vacuum sheers with a brush head on low once a month.
- Spot clean small stains on blackouts and follow label instructions for full washing.
- Steam or press hems carefully on low heat if fabric allows.
Energy, Privacy and Light Control Benefits
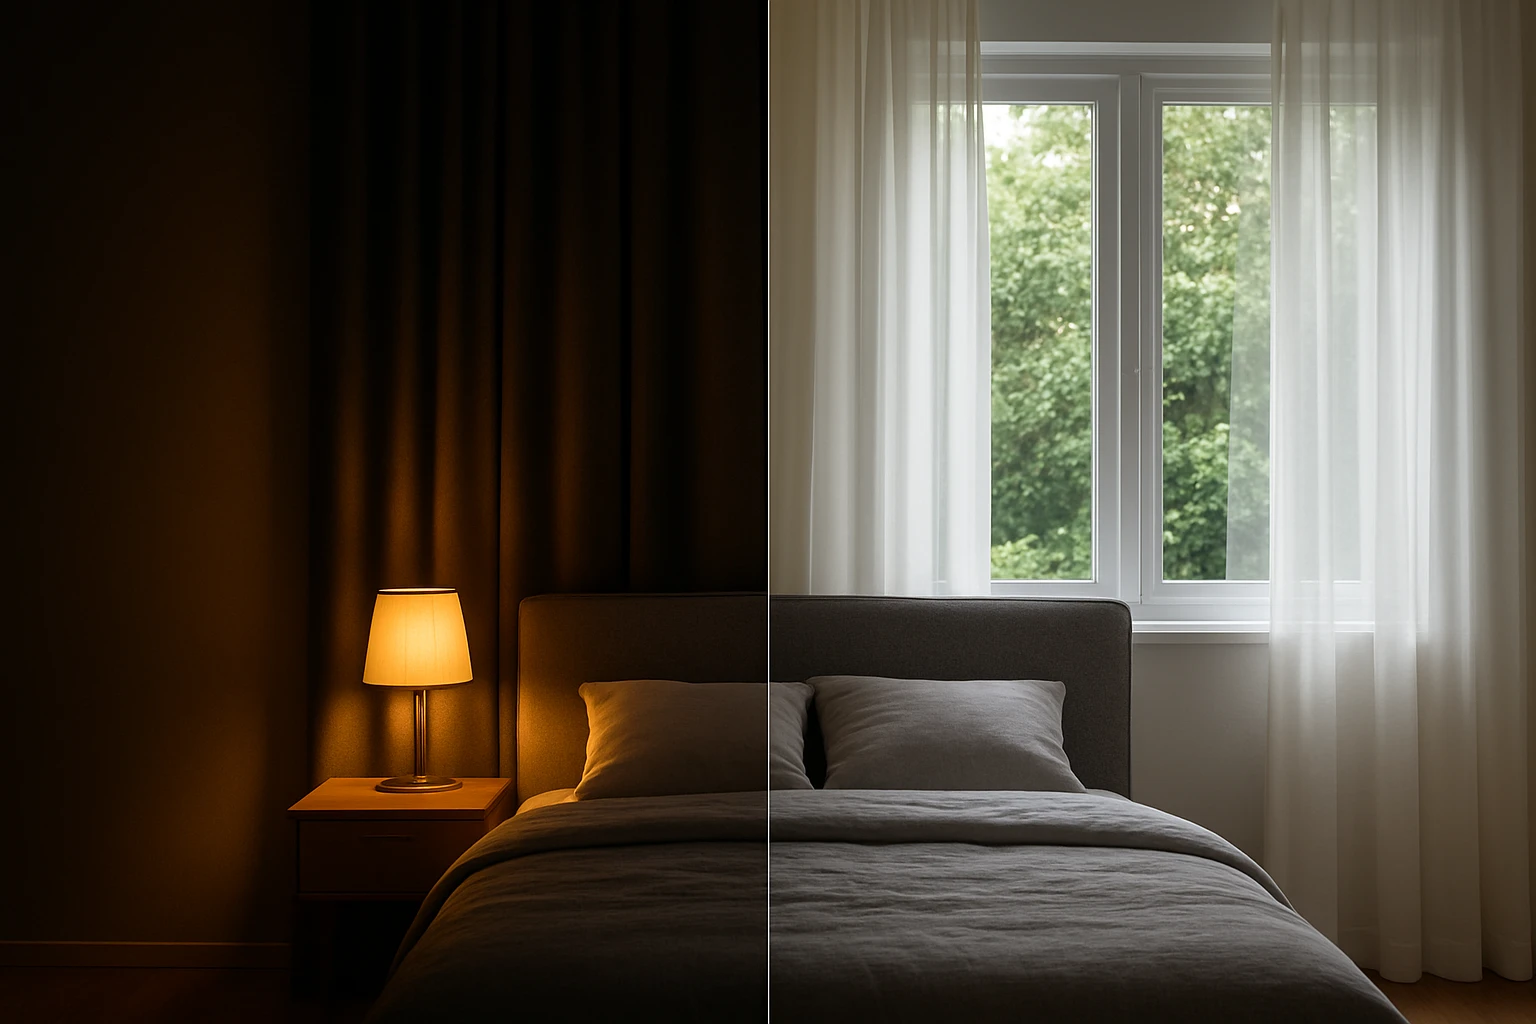
Layering gives you flexible control. Sheers keep rooms bright while preventing direct view from outside during the day, and blackouts bring near-total darkness for sleep or media use. Properly fitted blackouts and tight overlaps are key to achieving top performance.
Energy Benefits at a Glance
| Benefit | Typical Range |
|---|---|
| Light reduction with good fit | 70% to 99% |
| Heat loss reduction from layering | 10% to 20% |
| Added privacy when both layers used | High |
Buying and Installation Options
You can buy ready-made panels or order custom sizes when windows are odd-shaped. For automation or convenience, motorized systems help with large or high windows, and blackout options are available with motorization.
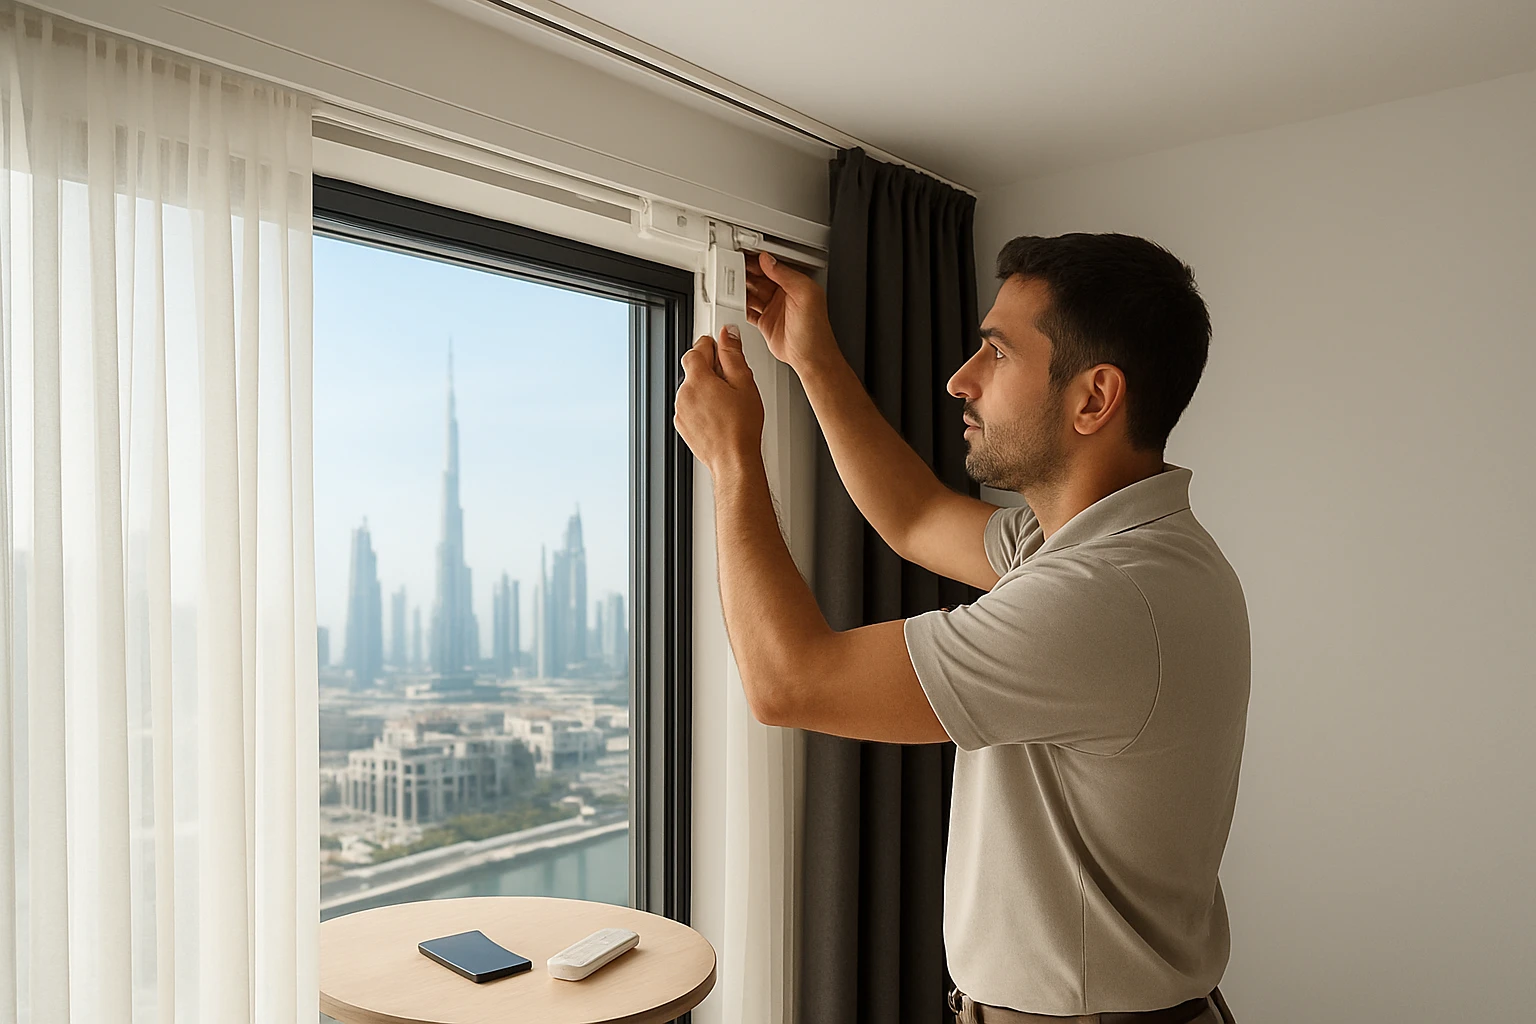
When you need heavy blackout performance, look at specialist pages like Blackout curtain and Blackout Blinds for product options and specifications. If you want automated control for high or wide windows, see Motorized Curtains.
For a broader shopping overview that helps you compare brands and styles locally, the buying guide Best Curtains and Blinds in Dubai 2026: Buying Guide is a useful resource.
Final Styling Tips and Room Ideas
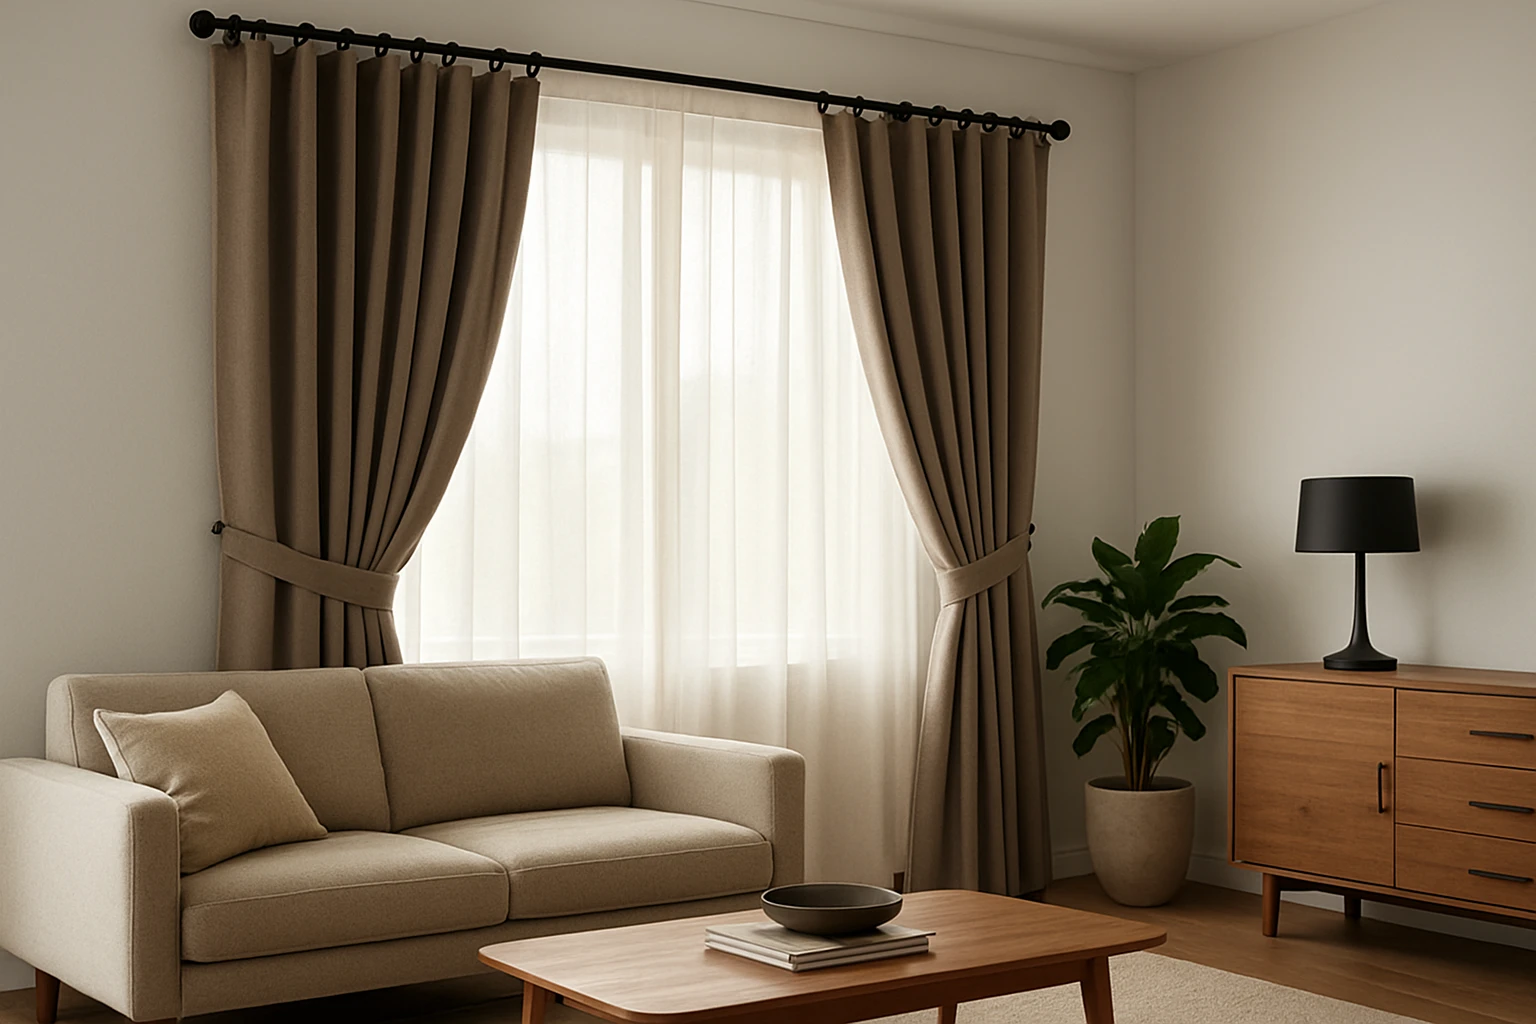
Match the curtain weight to the room. Light sheers and mid-weight blackouts are a safe, flexible choice for most homes, while velvet blackouts suit formal rooms. Keep the curtain rod and hardware style consistent with the room’s fixtures for a finished look.
Quick Style Reminders
- Use matching or coordinating header styles for both layers.
- Consider lining sheer panels if you want slightly more day privacy.
- When closing for sleep, close the blackout panel first, then the sheer for a neat stack if both should remain visible.
Frequently Asked Questions
Can I Hang Sheers and Blackouts on One Rod?
You can if the rod is deep enough and has separate carriers, but a double rod or inner track is cleaner and gives smoother operation. One rod often makes the two layers sit too close together and can cause snagging or poor stacking.
Which Layer Goes First Toward the Window, Sheer or Blackout?
The sheer goes closest to the window and the blackout sits on the outer rod. This order lets the sheer filter daytime light and keeps the blackout available for full darkness.
How Much Wider Should I Make Each Panel for Good Fullness?
Aim for 1.5 to 3 times the window width for each panel set. Sheers often look best at 2 to 2.5 times width for a soft look, and blackouts at 1.5 to 2 times to avoid excessive bulk.
Are Blackout Panels Washable?
Some blackout panels are machine washable while others need dry cleaning, depending on backing and fabric. Check the care label before washing and spot-clean when possible to extend life.
Will Layering Reduce Outside Noise?
Layering can help reduce noise slightly, especially if you use dense blackout fabrics and fit them close to the window. For sound-sensitive rooms, combine heavy fabric with other measures like seals or rugs for best effect.