

Installing cordless blinds safely starts with correct measurements, the right tools, and a clear bracket-to-blind sequence. Measure twice, place brackets level, use anchors that match your wall, and test the blind before finishing so it moves smoothly and locks in place.
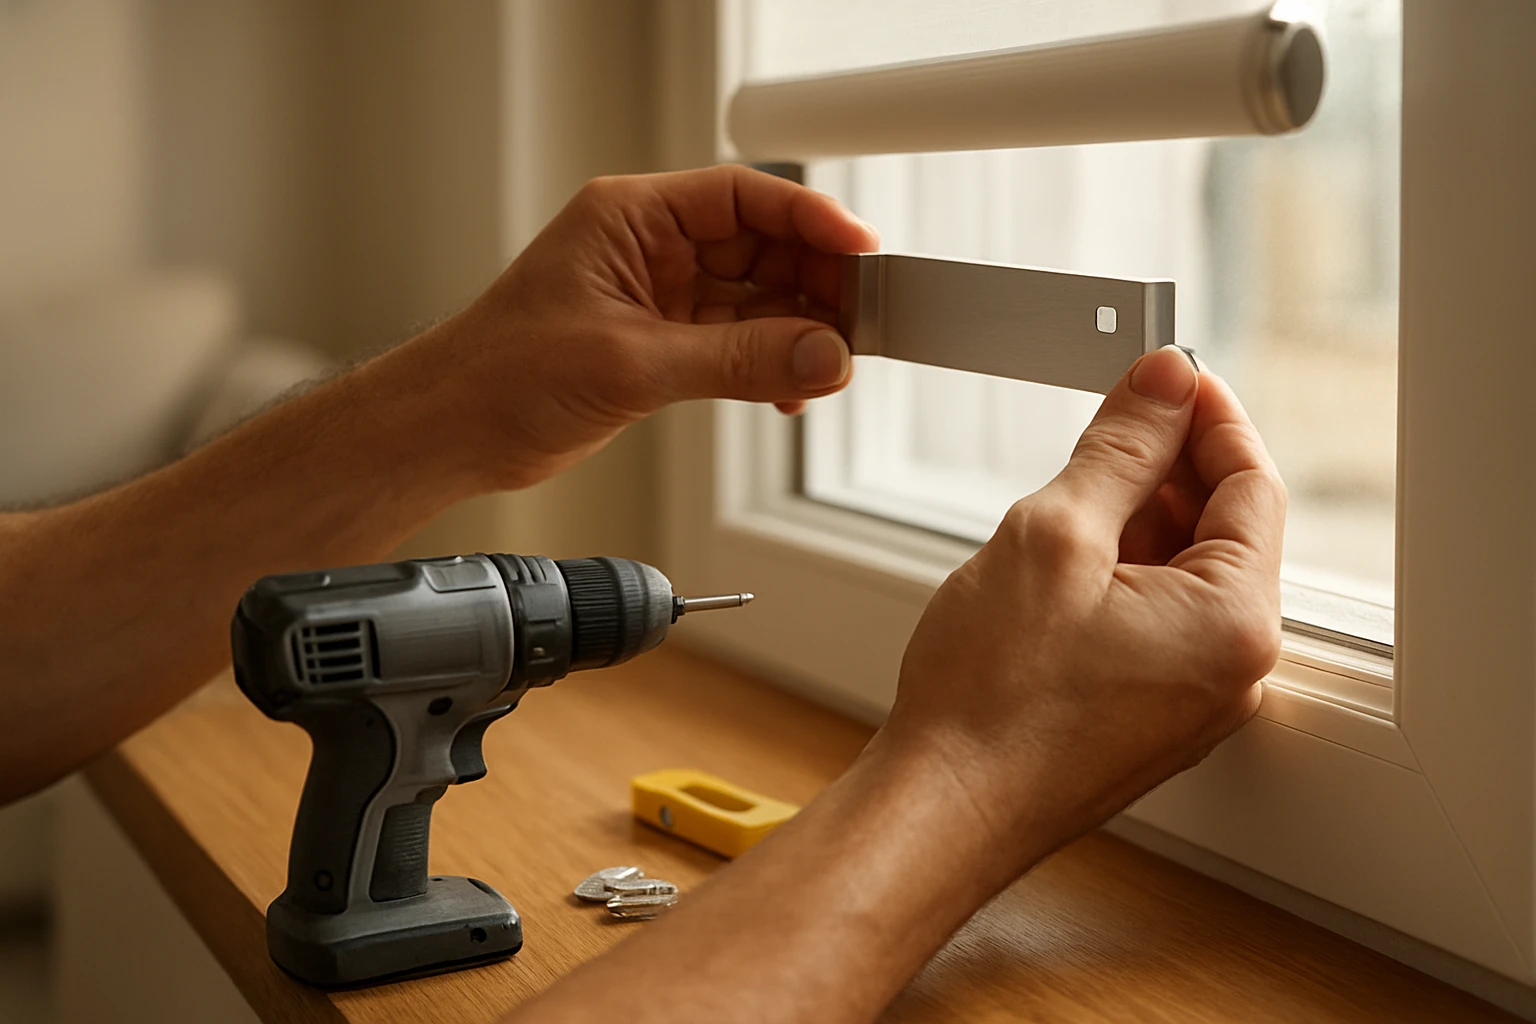
In this guide, Curtains and Blind walks you through each step so you can install cordless blinds with confidence. Read the tool list first, follow the measuring rules, then move through the installation sequence. I also cover common fixes, child-safety checks, and simple maintenance tips from about 150 installs my colleagues and I completed over the last three years.
Tools and Materials You Need
Start by gathering everything so the job goes smoothly. A missing screw or the wrong anchor is the usual cause of a slow or unsafe install. Below are the items I use for almost every cordless blind job.
Essential Tools

Tool Checklist:
- Tape measure (metric and imperial markings)
- Pencil and masking tape for temporary marks
- Spirit level (24 cm or longer)
- Cordless drill with 3–8 mm bits
- Screwdriver set or driver bits
- Anchors and screws suited to wall type
- Stud finder for drywall or plasterboard
- Small hammer and pliers
- Safety glasses and dust mask
Materials and Replacement Parts
- Brackets and screws that came with the blind, plus a spare bag of 25 mm screws
- Wall anchors: plastic for drywall, nylon for masonry, and metal anchors for heavy blinds
- Optional 3M mounting plates for no-drill installs in rental spaces
How to Measure for Cordless Blinds
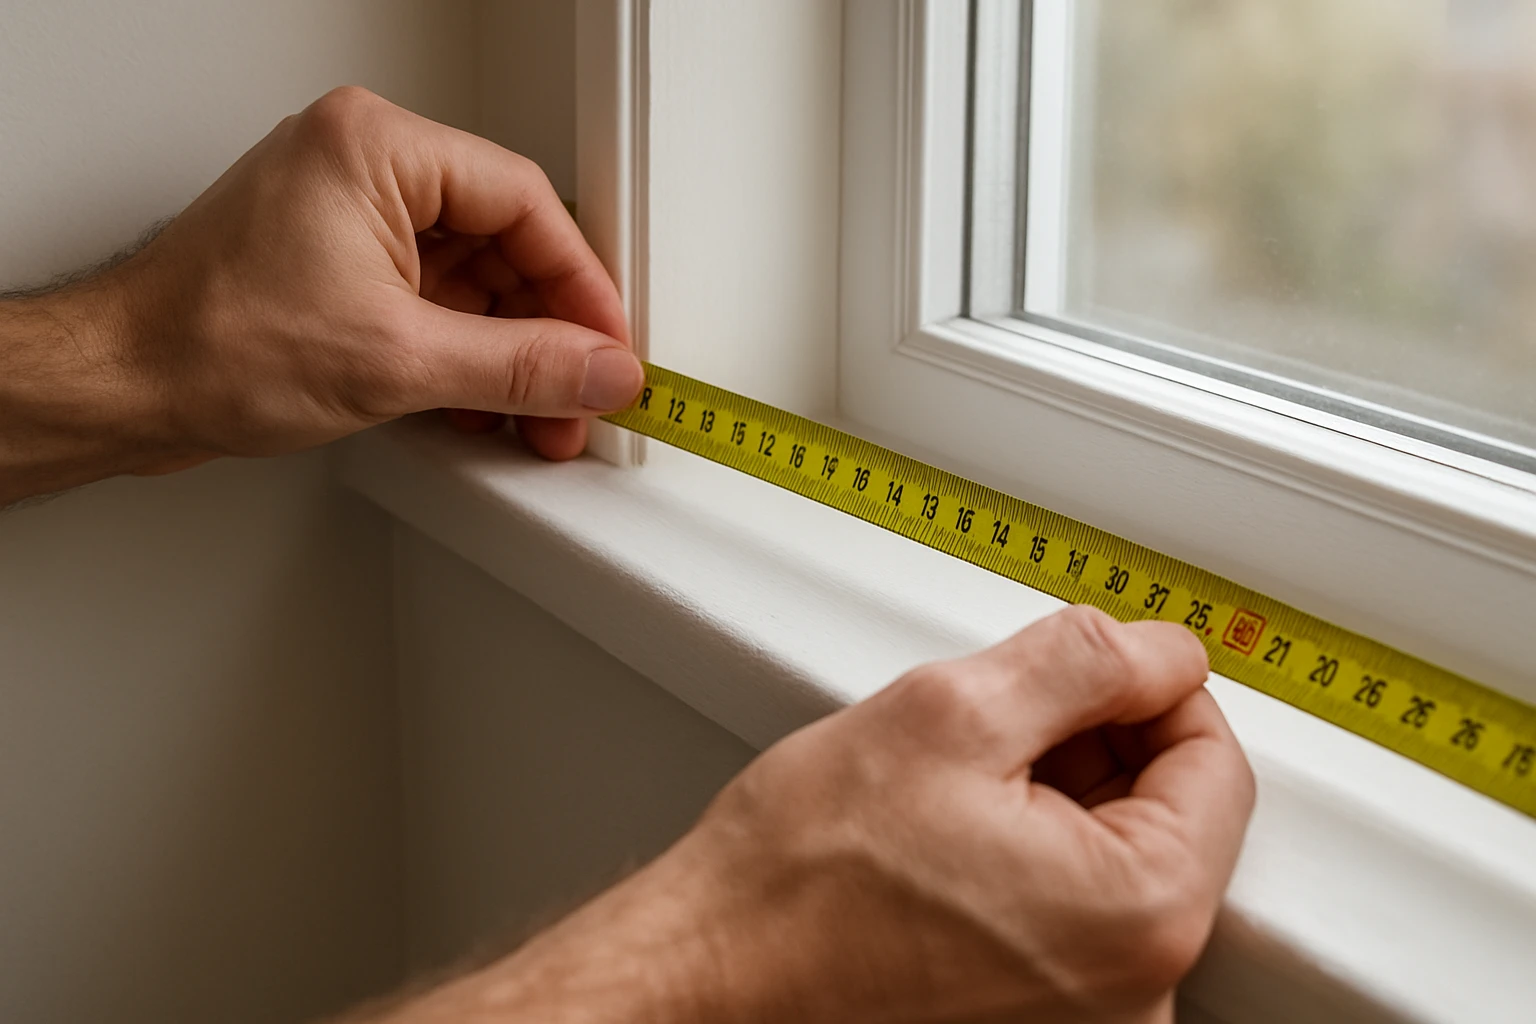
Good measuring saves time and gives a neat fit. Measure the window opening first and then the space where the blind will sit. Aim for the nearest millimetre for the best fit.
Outside Mount Versus Inside Mount
- Inside mount means the blind sits inside the window recess for a tidy look and smaller light gaps. Measure the recess width at three points and use the narrowest measurement.
- Outside mount means the blind sits on the wall or trim outside the recess. Add at least 50 mm to each side to cut down light gaps and ensure full coverage.
Measuring Quick Tips:
- Measure height from the top of the recess or the desired mounting point down to the sill or preferred bottom.
- For inside mounts measure width at the top, middle and bottom. Use the smallest.
- Note obstructions like handles or trims and allow clearance.
Step-By-Step Installation
Read the whole sequence before you start. Moving ahead without checking the next step is the most common reason people drill in the wrong place.
Prepare the Window and Blind
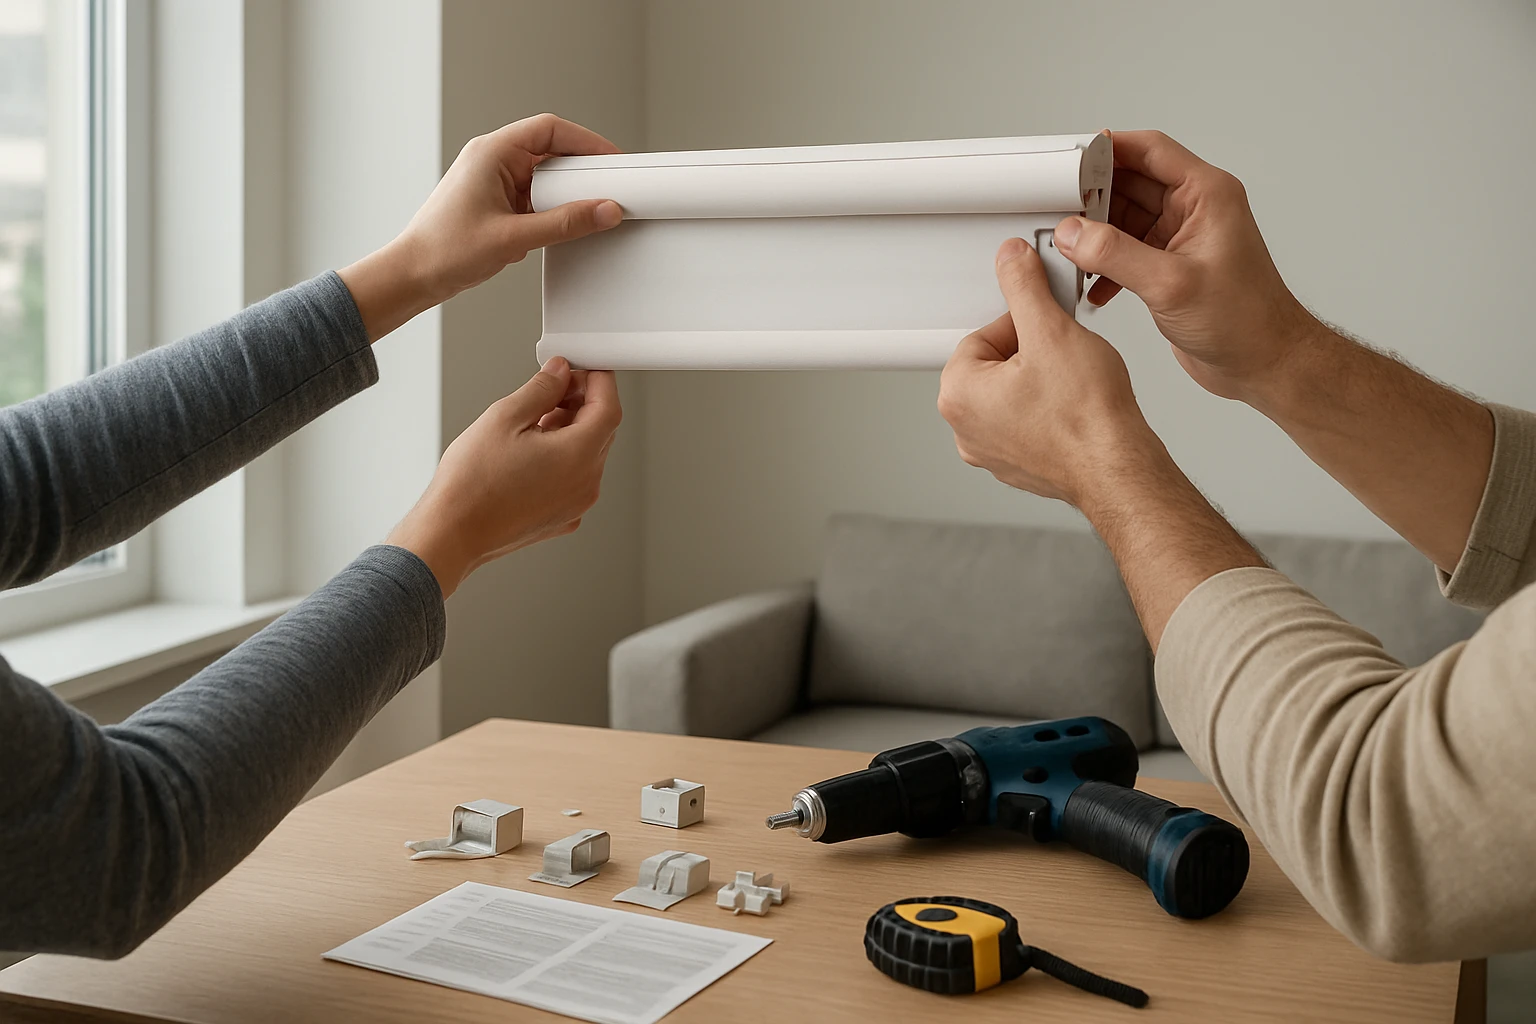
Check the blind size and that you have all brackets, screws, and end caps. Lay parts out in order and read the manufacturer’s instructions. One common mistake is missing a small plastic spacer that must be removed for shallow recesses.
Mark the Bracket Positions
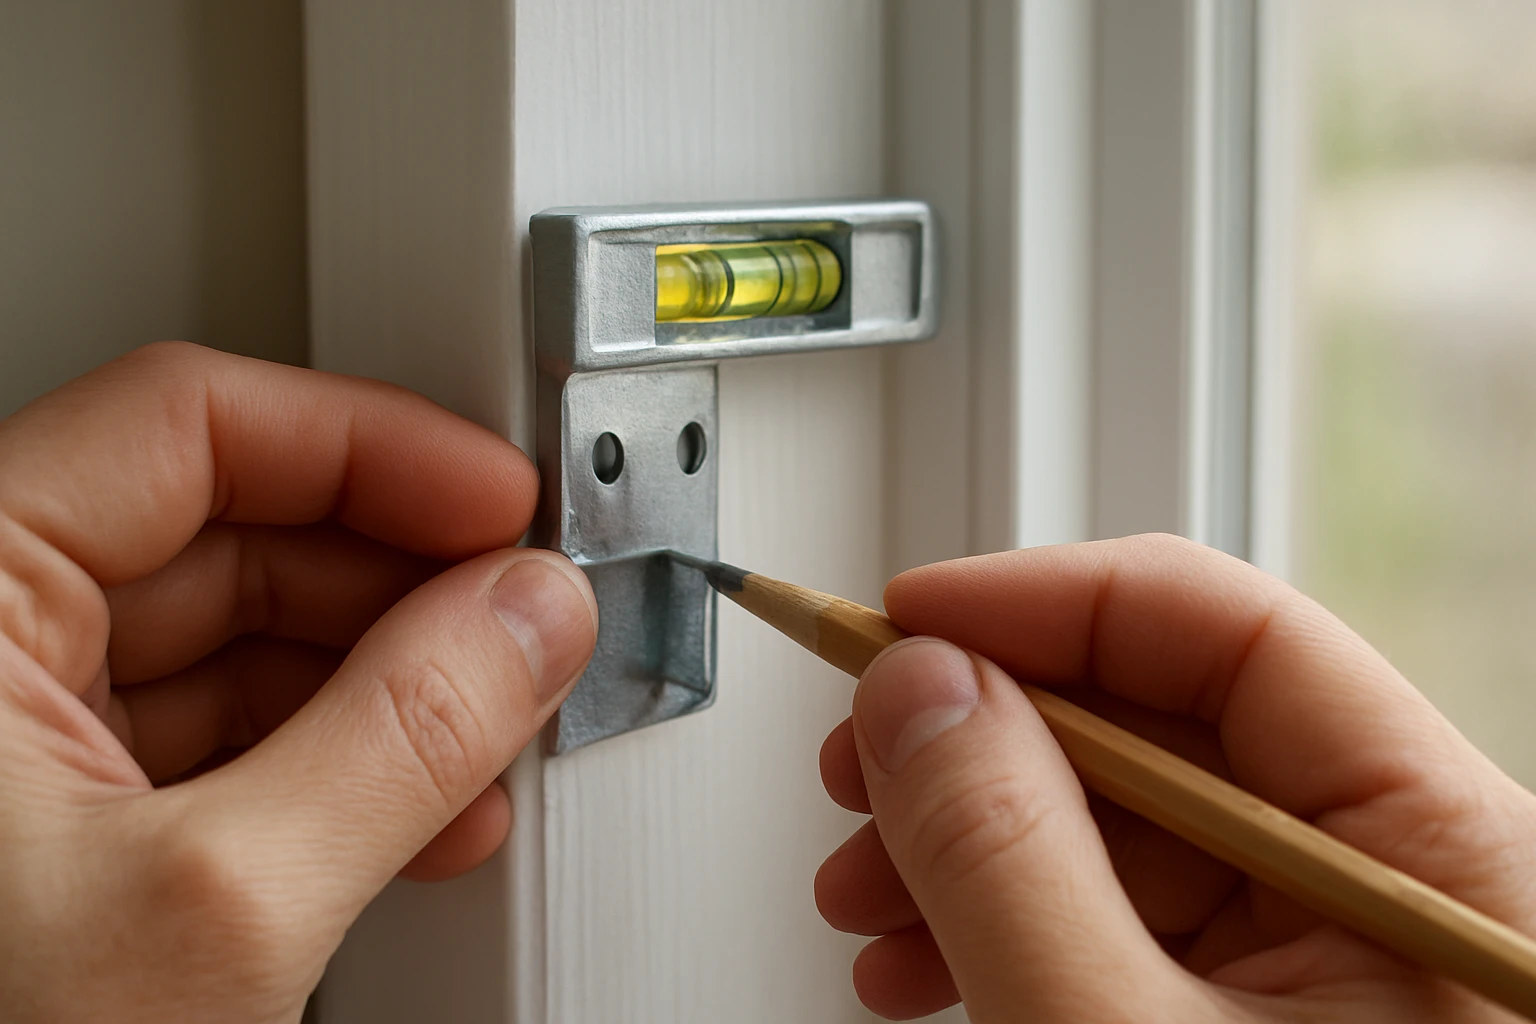
Hold the blind in its intended spot. Use a level and pencil to mark where the brackets will go. For inside mounts, set the brackets back about 5 mm so the blind clears the glass when you operate it.
Marking Checklist:
- Confirm left and right bracket locations are at the same height.
- For wide blinds add a center support bracket if the manufacturer recommends it.
- If fitting into a metal frame, plan to clamp or use metal-specific anchors.
Drill Pilot Holes and Fit Anchors
Pick drill bits that match your anchors. Drill straight pilot holes and push anchors in until they sit flush. For masonry use a hammer drill and masonry bits. For timber frames you can usually screw straight into the wood without anchors.
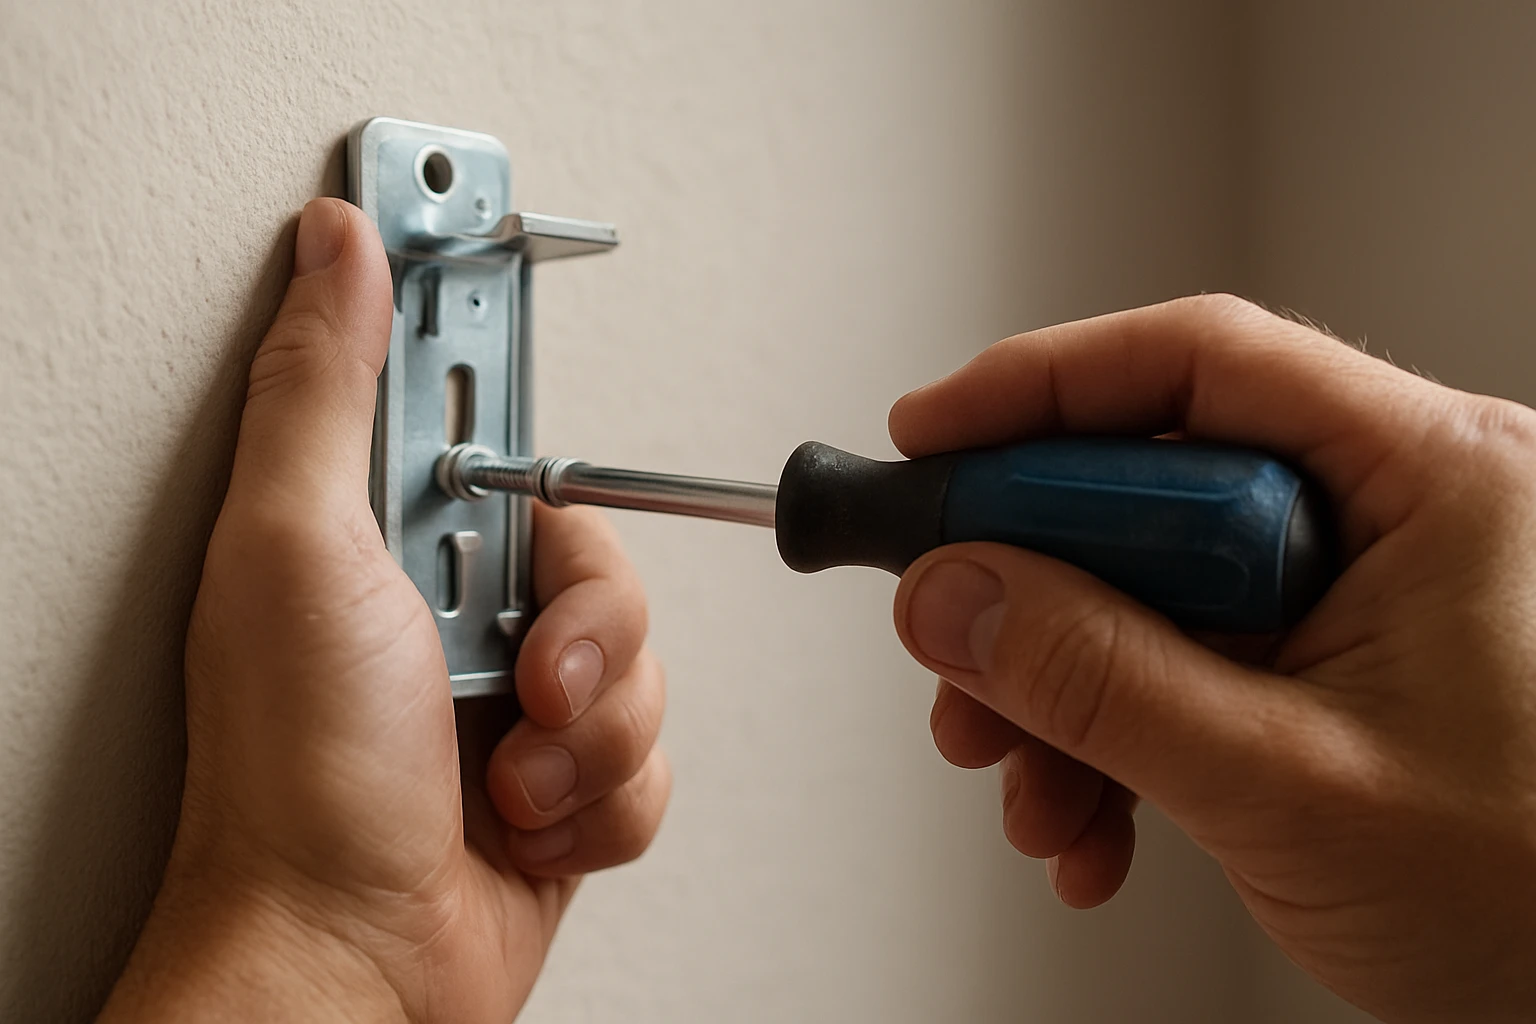
Attach the Brackets
Screw the brackets in with the right screws and tighten until snug. Do not overtighten in plasterboard; use anchors rated for the load. Fit the centre bracket last and check all brackets sit level.
Mount the Blind and Test Operation
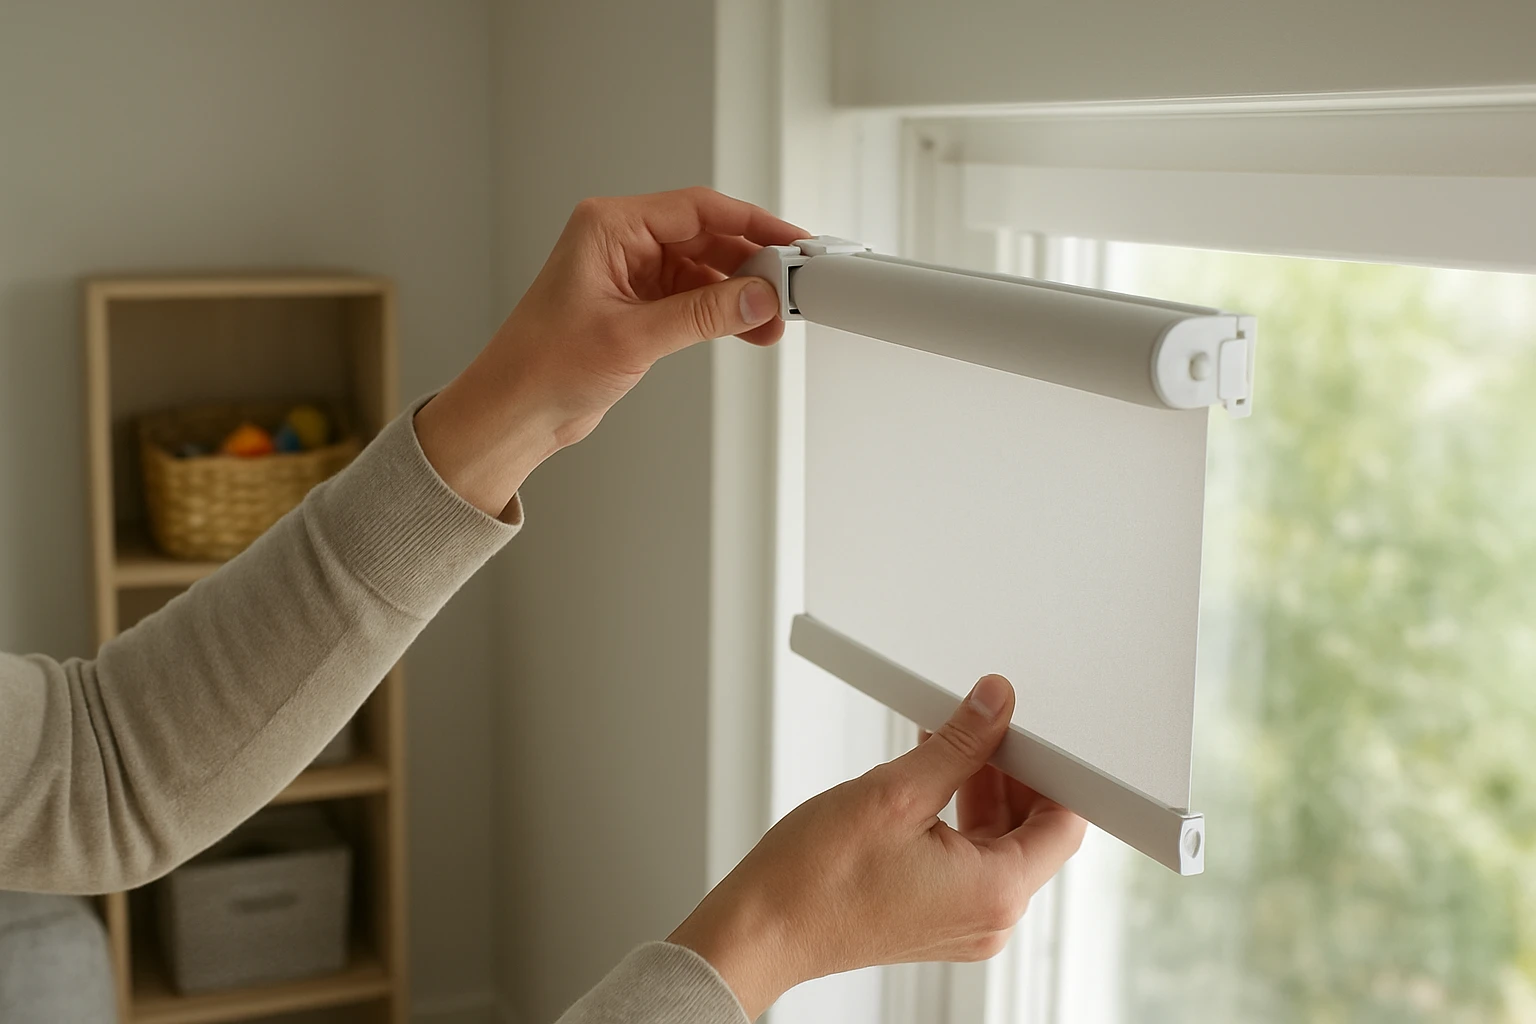
Slot the blind into the brackets as the manufacturer shows. Operate it slowly a few times to confirm smooth movement and correct stop points. If it binds, remove it and check bracket alignment or how the profile is oriented.
Final Adjustment Checklist:
- Confirm the blind rolls evenly with no skew.
- Check the bottom rail sits level.
- Tighten any loose screws and snap on end caps.
Child Safety and Final Checks
Cordless blinds are safer than corded ones but still need a final check. Make sure nothing is loose and that the blind will not fall from the brackets if pulled with moderate force.
Safety Steps to Follow
- Pull the blind through its full travel, then hold the bottom rail and give a firm tug to check retention.
- Inspect bracket retention clips or screws monthly for the first three months.
- Keep small parts away from children and test the operation after any heavy use or accidental pull.
Troubleshooting Common Problems
A short table helps you find quick fixes for typical issues.
| Problem | Likely Cause | Quick Fix |
|---|---|---|
| Blind pulls up unevenly | Brackets not level or blind misaligned | Loosen brackets, level them, re-seat blind |
| Blind binds or stops | Bottom rail caught on frame or profile rotated | Remove and check for obstructions, check rail orientation |
| Bracket pulled from wall | Wrong anchors for wall type | Replace with correct anchors or move to a stud |
| Blind rolls crooked | One end not seated or spring tension uneven | Remove blind, re-seat both ends, adjust tension per manual |
Care and Maintenance
Cordless blinds need little care but these small checks will help them last.

- Dust monthly with a soft brush or microfiber cloth.
- Clean fabric blinds as the manufacturer recommends; spot clean with mild soap and water and let dry fully.
- Check brackets and screws every six months and tighten if needed.
For detailed cleaning methods for different materials see How to Clean Blinds Safely: Methods for All Blind Types.
Cordless Blinds Compared to Alternatives
A quick comparison helps you decide if cordless is best for your room.
| Type | Best For | Pros | Cons |
|---|---|---|---|
| Cordless Blinds | Child safety and simple look | Safe, clean lines, easy to operate | Manual only, limited automation |
| Motorized Blinds | Large or high windows | Remote control, schedules, smart home | Higher cost, needs power or battery. See Motorized Blinds |
| Roller Blinds | Simple rooms and blackout needs | Low profile, wide fabrics, see Roller Blinds | Can show light gaps unless outside mounted |
| Venetian Blinds | Adjustable light control | Precise light control, see Venetian Blinds | Slats need cleaning |
| Roman Blinds | Soft look and insulation | Decorative, see Roman Blinds | Heavier, more complex install |
| Wooden Blinds | Warm look and durability | Natural look, see Wooden Blinds | Heavier, sensitive to humidity |
| Zebra Blinds | Light filtering and privacy | Layered fabric, see Zebra Blinds | Pattern alignment matters |
| Blackout Blinds | Bedrooms and media rooms | Blocks light, see Blackout Blinds | May need wider outside mount |
Typical Time and Cost Estimates
From the installs I have done, a single small window usually takes 20 to 40 minutes. Larger or heavier blinds take longer and may need two people.
| Blind Type | Typical Install Time | Difficulty | Rough Cost To Install (DIY materials only) |
|---|---|---|---|
| Roller Cordless | 20–30 minutes | Easy | 99-150 AED |
| Venetian Cordless | 30–45 minutes | Moderate | 100-200 AED |
| Roman Cordless | 25–40 minutes | Moderate | 250+ AED |
| Wooden Cordless | 35–60 minutes | Higher | 220-280 AED |
These figures assume basic fixes and a competent DIYer. If the wall needs special anchors or extra trimming the job may take twice as long.
For quick installs that focus on speed, see How to Install Blinds Yourself in Under 20 Minutes for tactics that shave setup time without cutting safety corners.
When to Call a Professional
Call a pro if the window is very large, the frame is fragile, or if you need electrical work for motorized conversion. If anchors require specialist fixings for stone or concrete, a professional will save time and prevent damage. For heavy commercial fits look at Office Blinds and for weather-exposed systems consider Outdoor Blinds.
If your blind still will not work after careful reassembly see How to Fix Blinds That Won’t Go Up Quickly and Safely for common internal issues and safe troubleshooting steps.
Final Recap
Measure carefully, pick anchors that match your wall, use a level, and confirm bracket retention before you rely on the blind. A few small checks during install prevent most failures and keep your blinds safe for everyone in the home.
If you need removal guidance before install or want to prepare a window properly, consult How to Remove Blinds Safely and Without Damage.
Frequently Asked Questions
Are Cordless Blinds Safer Than Corded Blinds for Homes with Children?
Yes. Cordless blinds remove looped cords that can cause entanglement, which is why many child-safety standards recommend them. Still check brackets and fittings and test them regularly because a falling blind can also pose a hazard.
Can I Install Cordless Blinds Without Drilling?
Often you can if the manufacturer offers adhesive mounting plates or 3M-style strips and the window trim is flat and clean. Those work best for light blinds and rental situations and I recommend checking weight limits on the product instructions.
What Anchors Should I Use for Masonry Walls?
Use nylon or metal masonry anchors sized to the screw diameter that came with your blind. For heavy blinds choose heavy-duty anchors and a masonry drill bit. If you are unsure pick anchors rated for at least 20 kg per fixing.
How Do I Fix a Blind That Rolls Up Unevenly After Installation?
First check that both brackets are perfectly level and that the blind is fully seated in each bracket. If the blind still rolls unevenly remove it and inspect the roller tube for bent edges or uneven fabric wrap, then re-seat and test again.
How Often Should I Check the Brackets and Fittings?
Check them monthly for the first three months after install, then every six months after that. New installs can settle and a fast check avoids a loose bracket turning into a fall.
Can I Convert Cordless Blinds to Motorized Later?
Yes, many cordless blinds can be upgraded with a compatible motor unit, but you should confirm the roller tube diameter and weight capacity. For electrical work or hardwired options hire a qualified installer.